As promised, we’re going to make this project using only two different blocks, and this is the first of those two. Because I’m super creative with names, we’re going to call it Block A and we’re going to make 4 copies of it*.
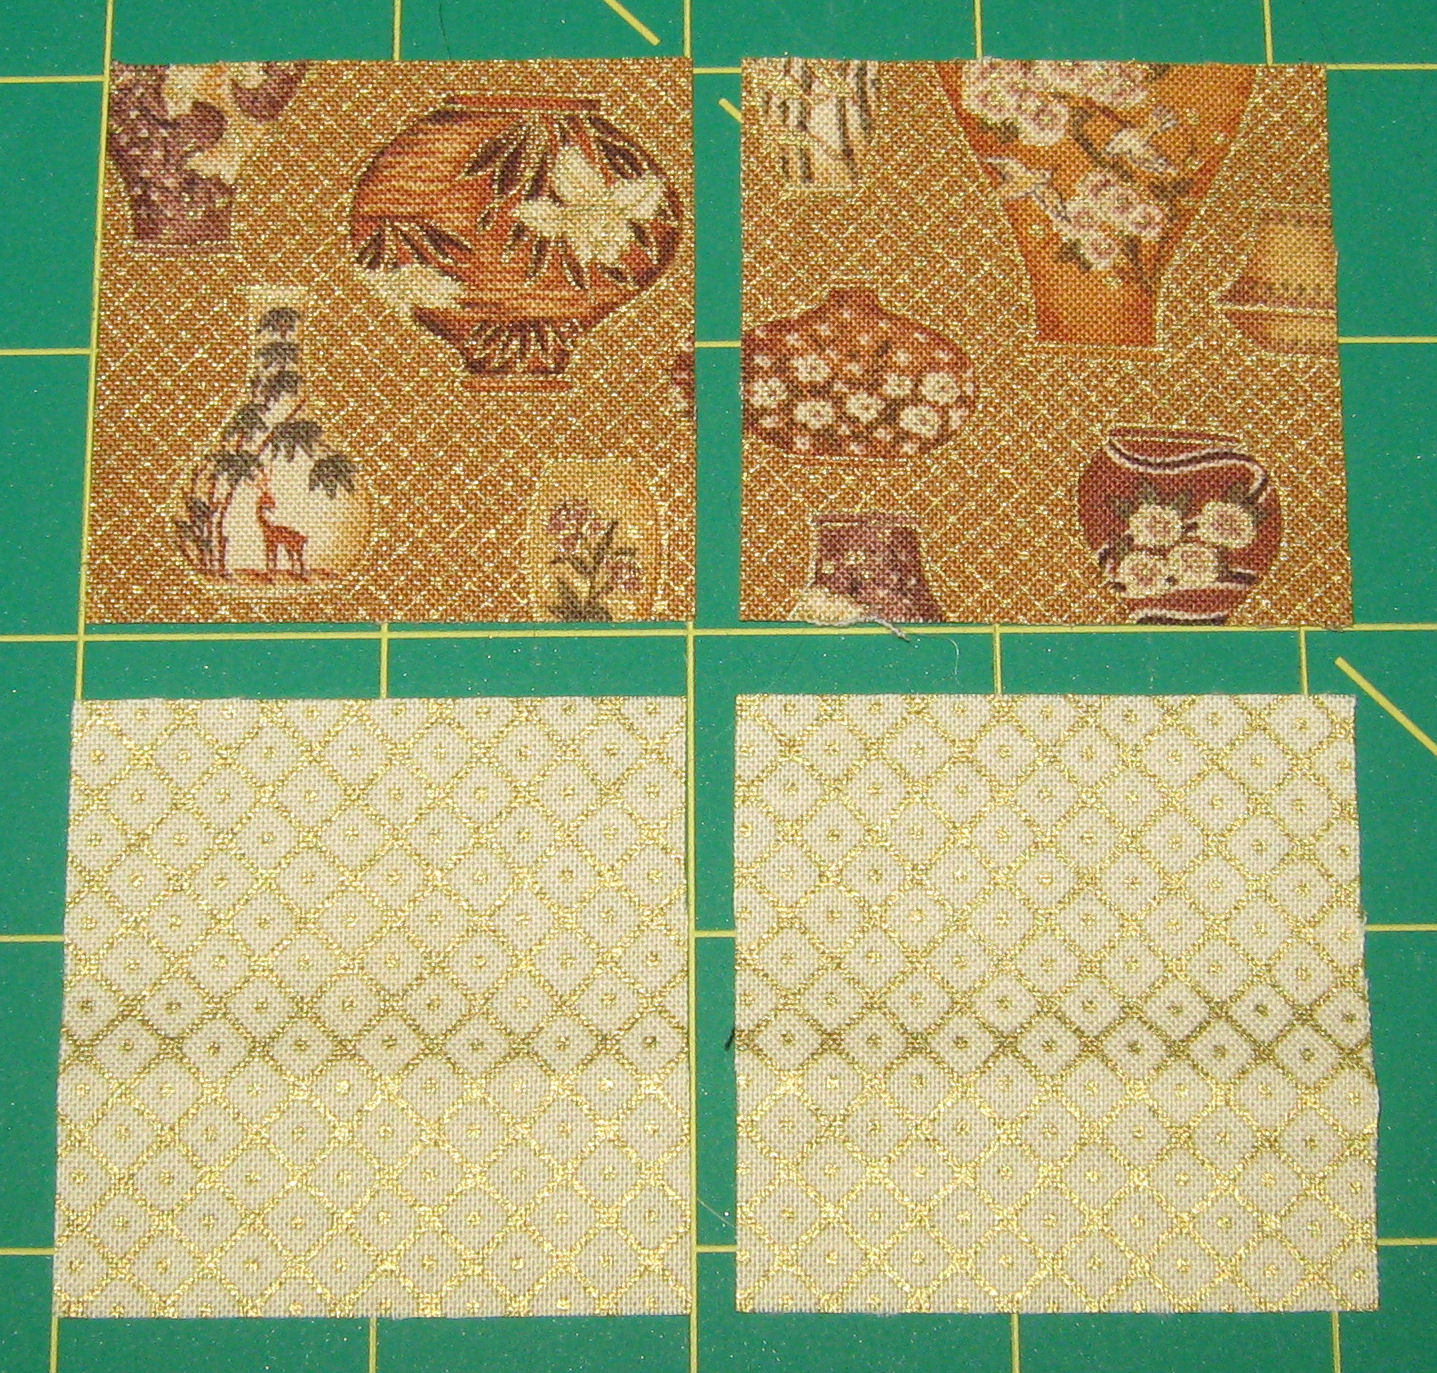
Start by cutting one of the strips of light fabric that was 2″ wide into X squares that each measure 2″ x 2″.
 Now you are going to take those squares and chain sew them to a strip of light fabric that’s 2″ wide. To be clear, you should sew them to the same strip of fabric so that when you’re done it will look something like this:
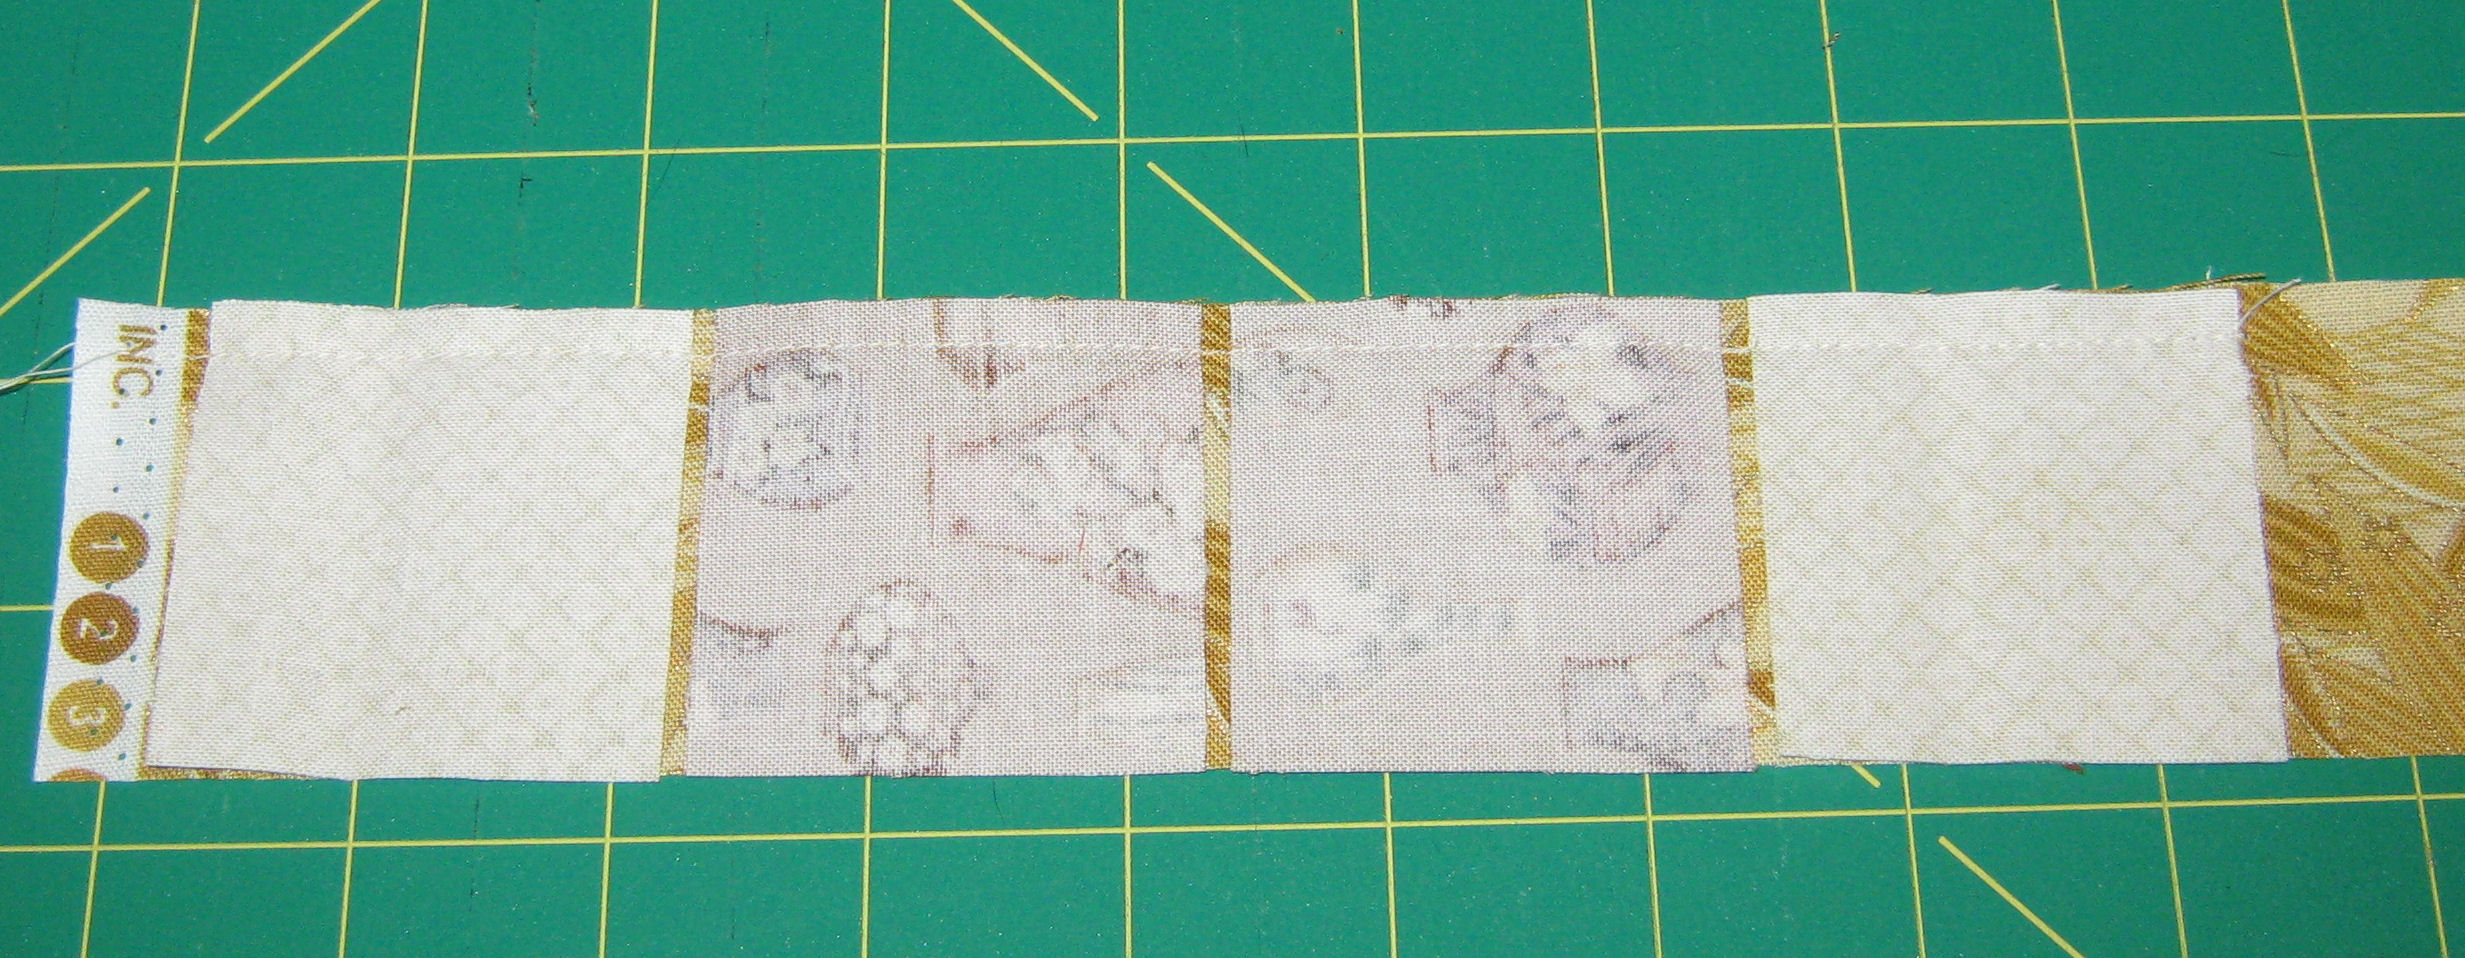 Now trim that strip so that you have four units which look like this:
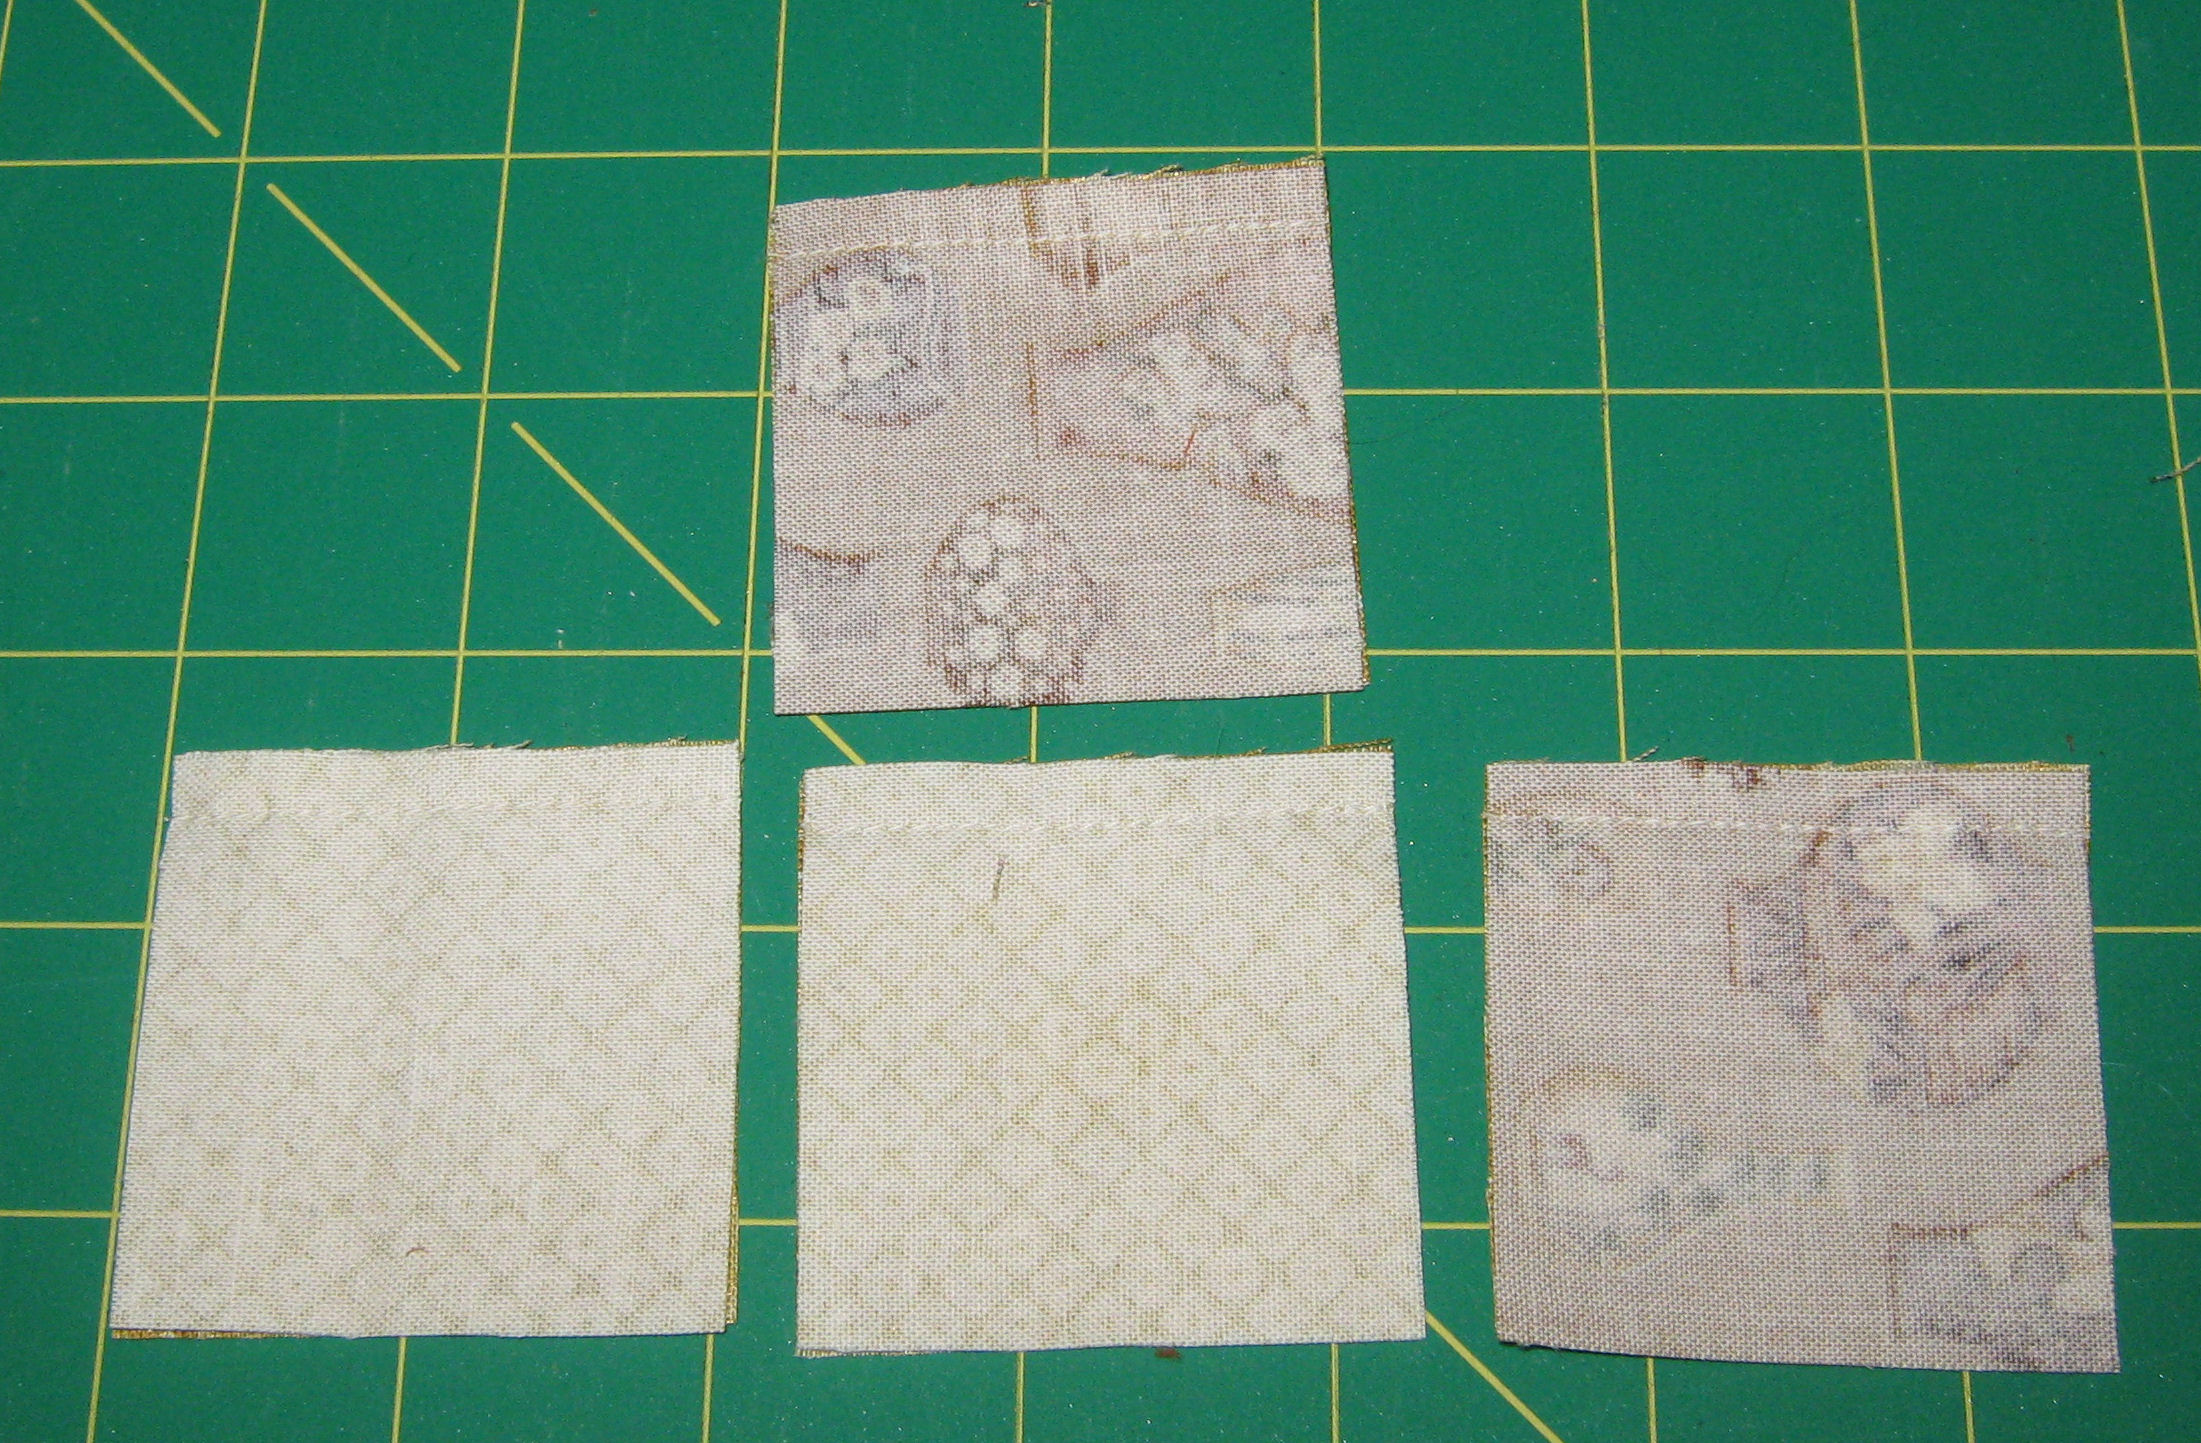 Press them open:
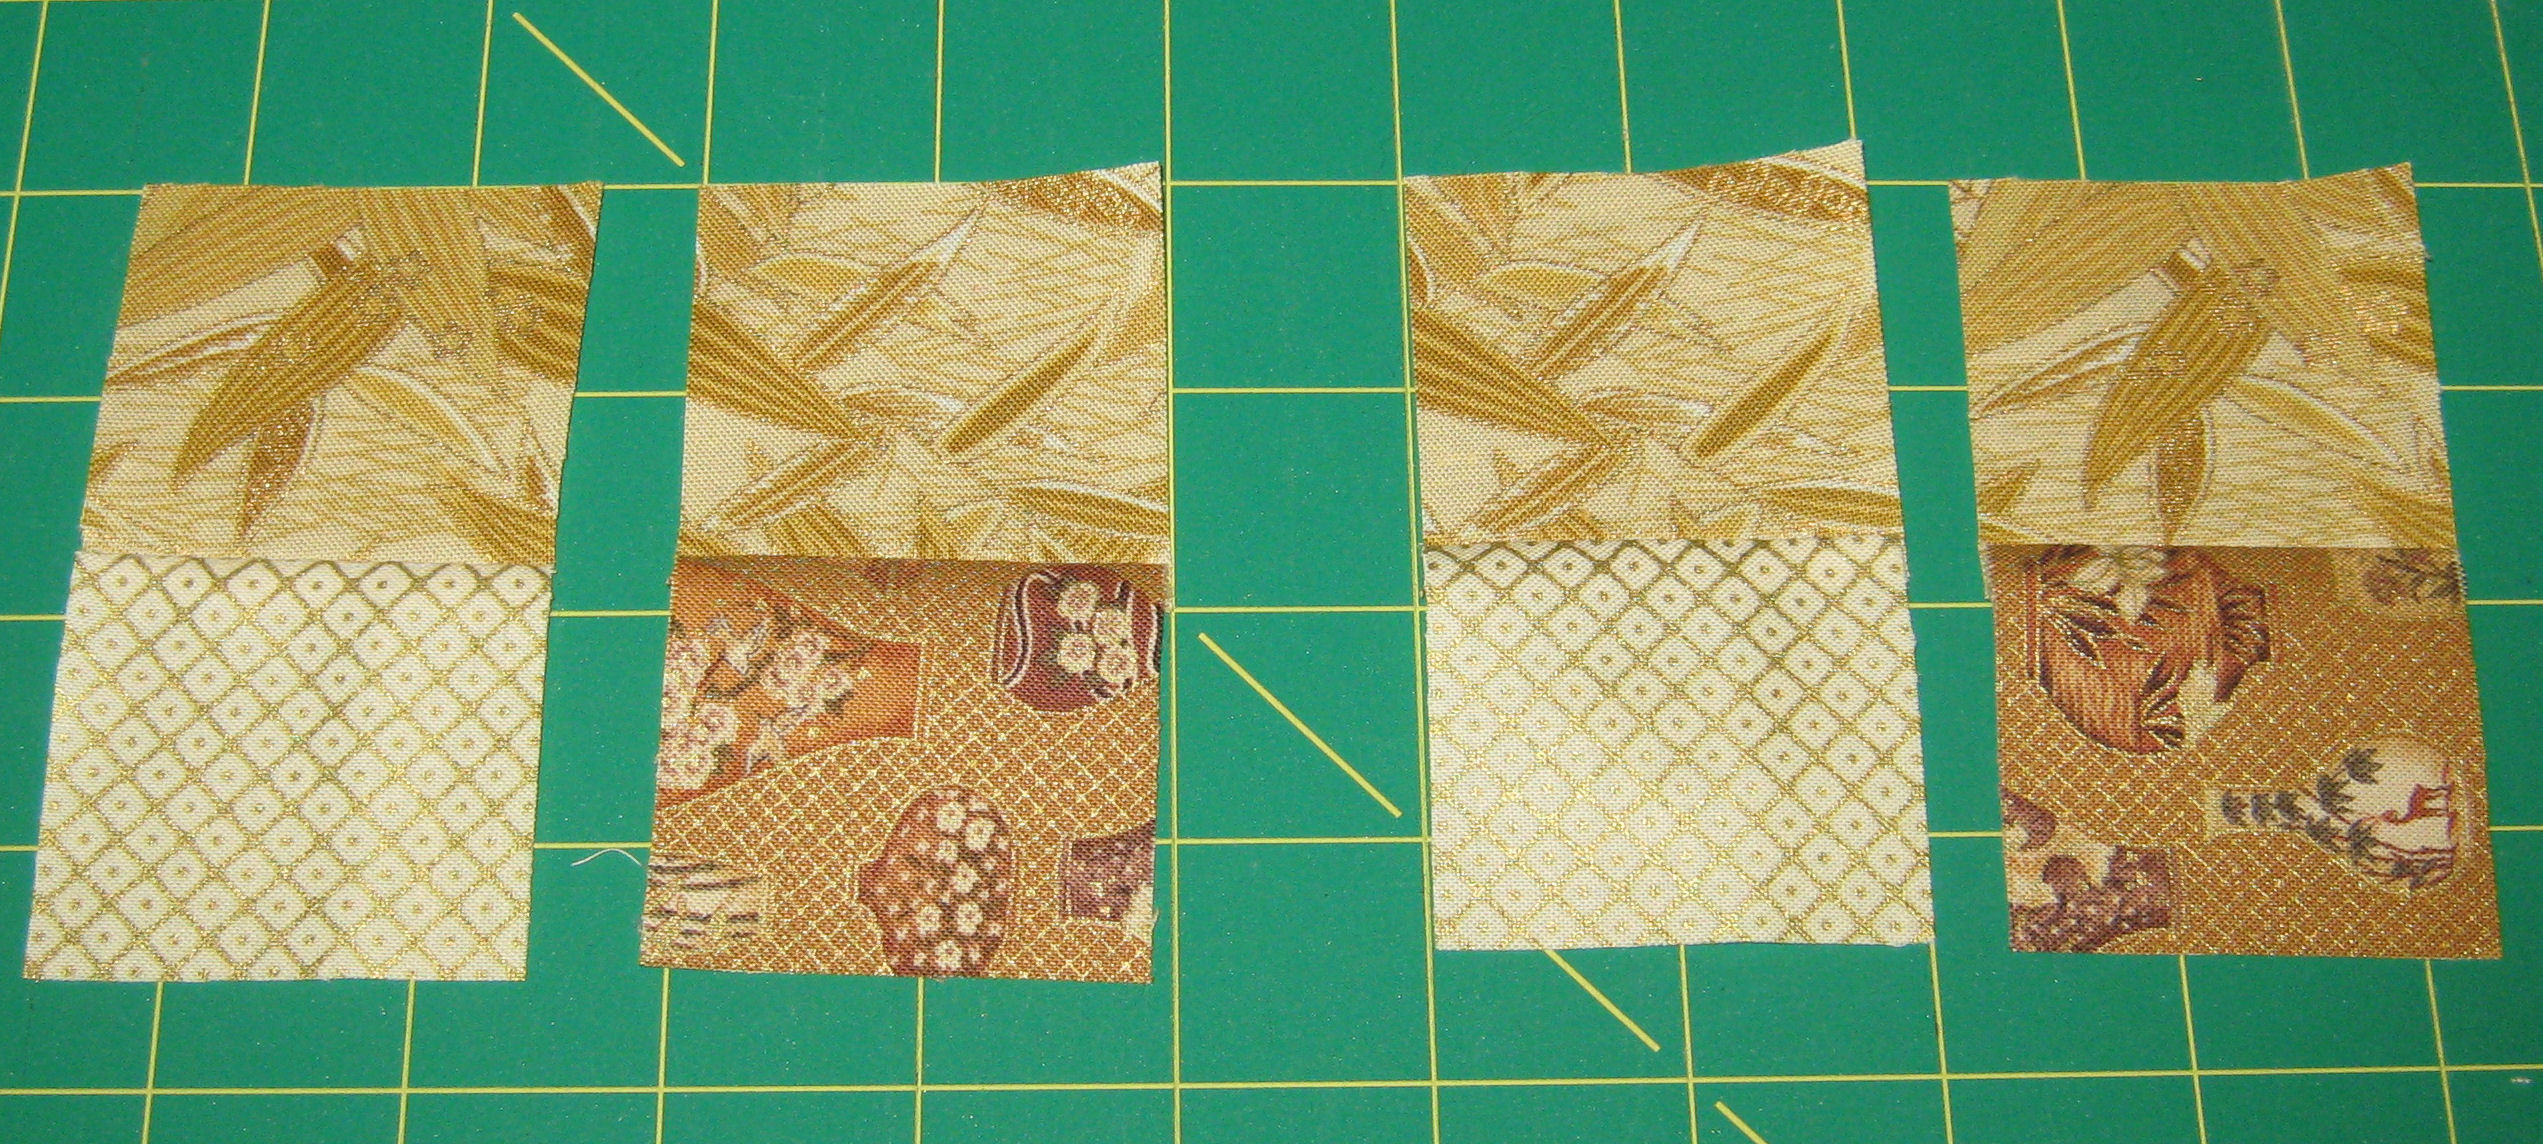 That is the basic method you’ll be using to make all the blocks in this project. If you’re familiar with it you probably already know how this is going to work. If it’s new to you, stick with me, I’ll carry you though 🙂
Sew those units to another strip of light fabric that is 2″ wide so that it looks like this: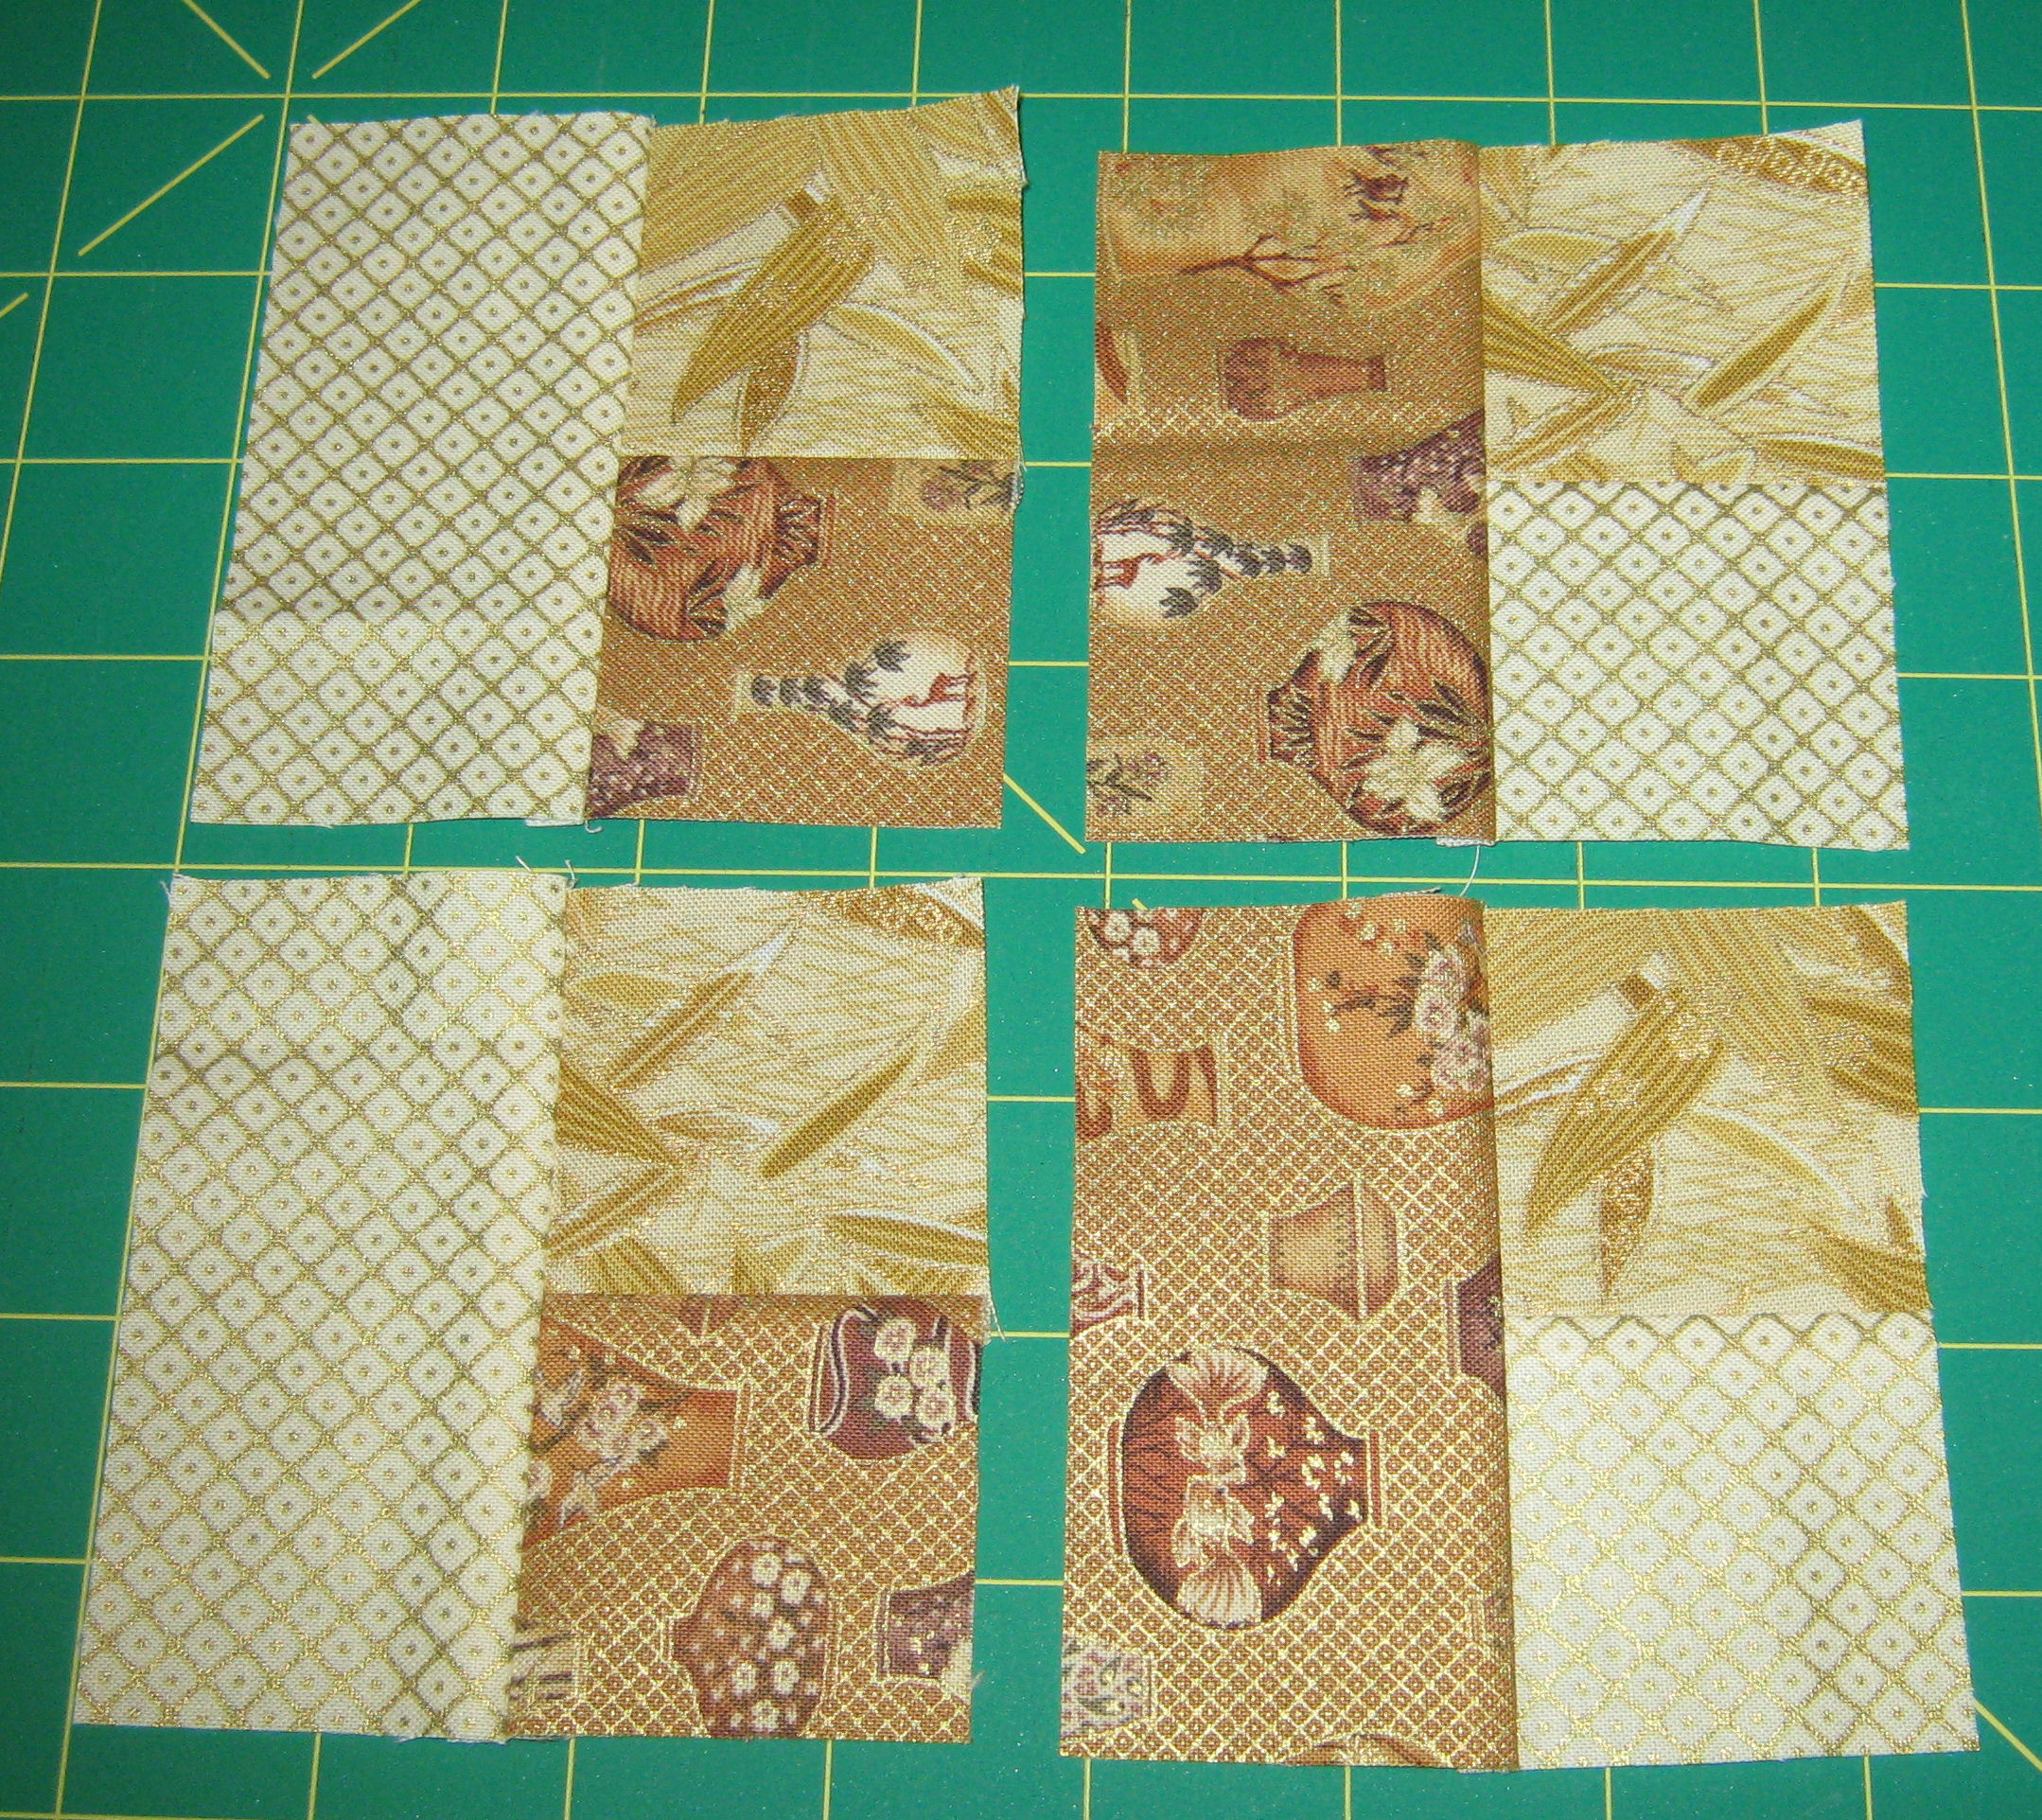
Do be careful that you’re sewing it on the correct side or else you’re going to run into problems later. I used two different fabrics only because I’m trying to keep this as scrappy looking as I can manage with only using six different fabrics 😉
Now you need to sew one of the strips of dark fabric that are 1.5″ wide onto the bottom of the units you’ve already created: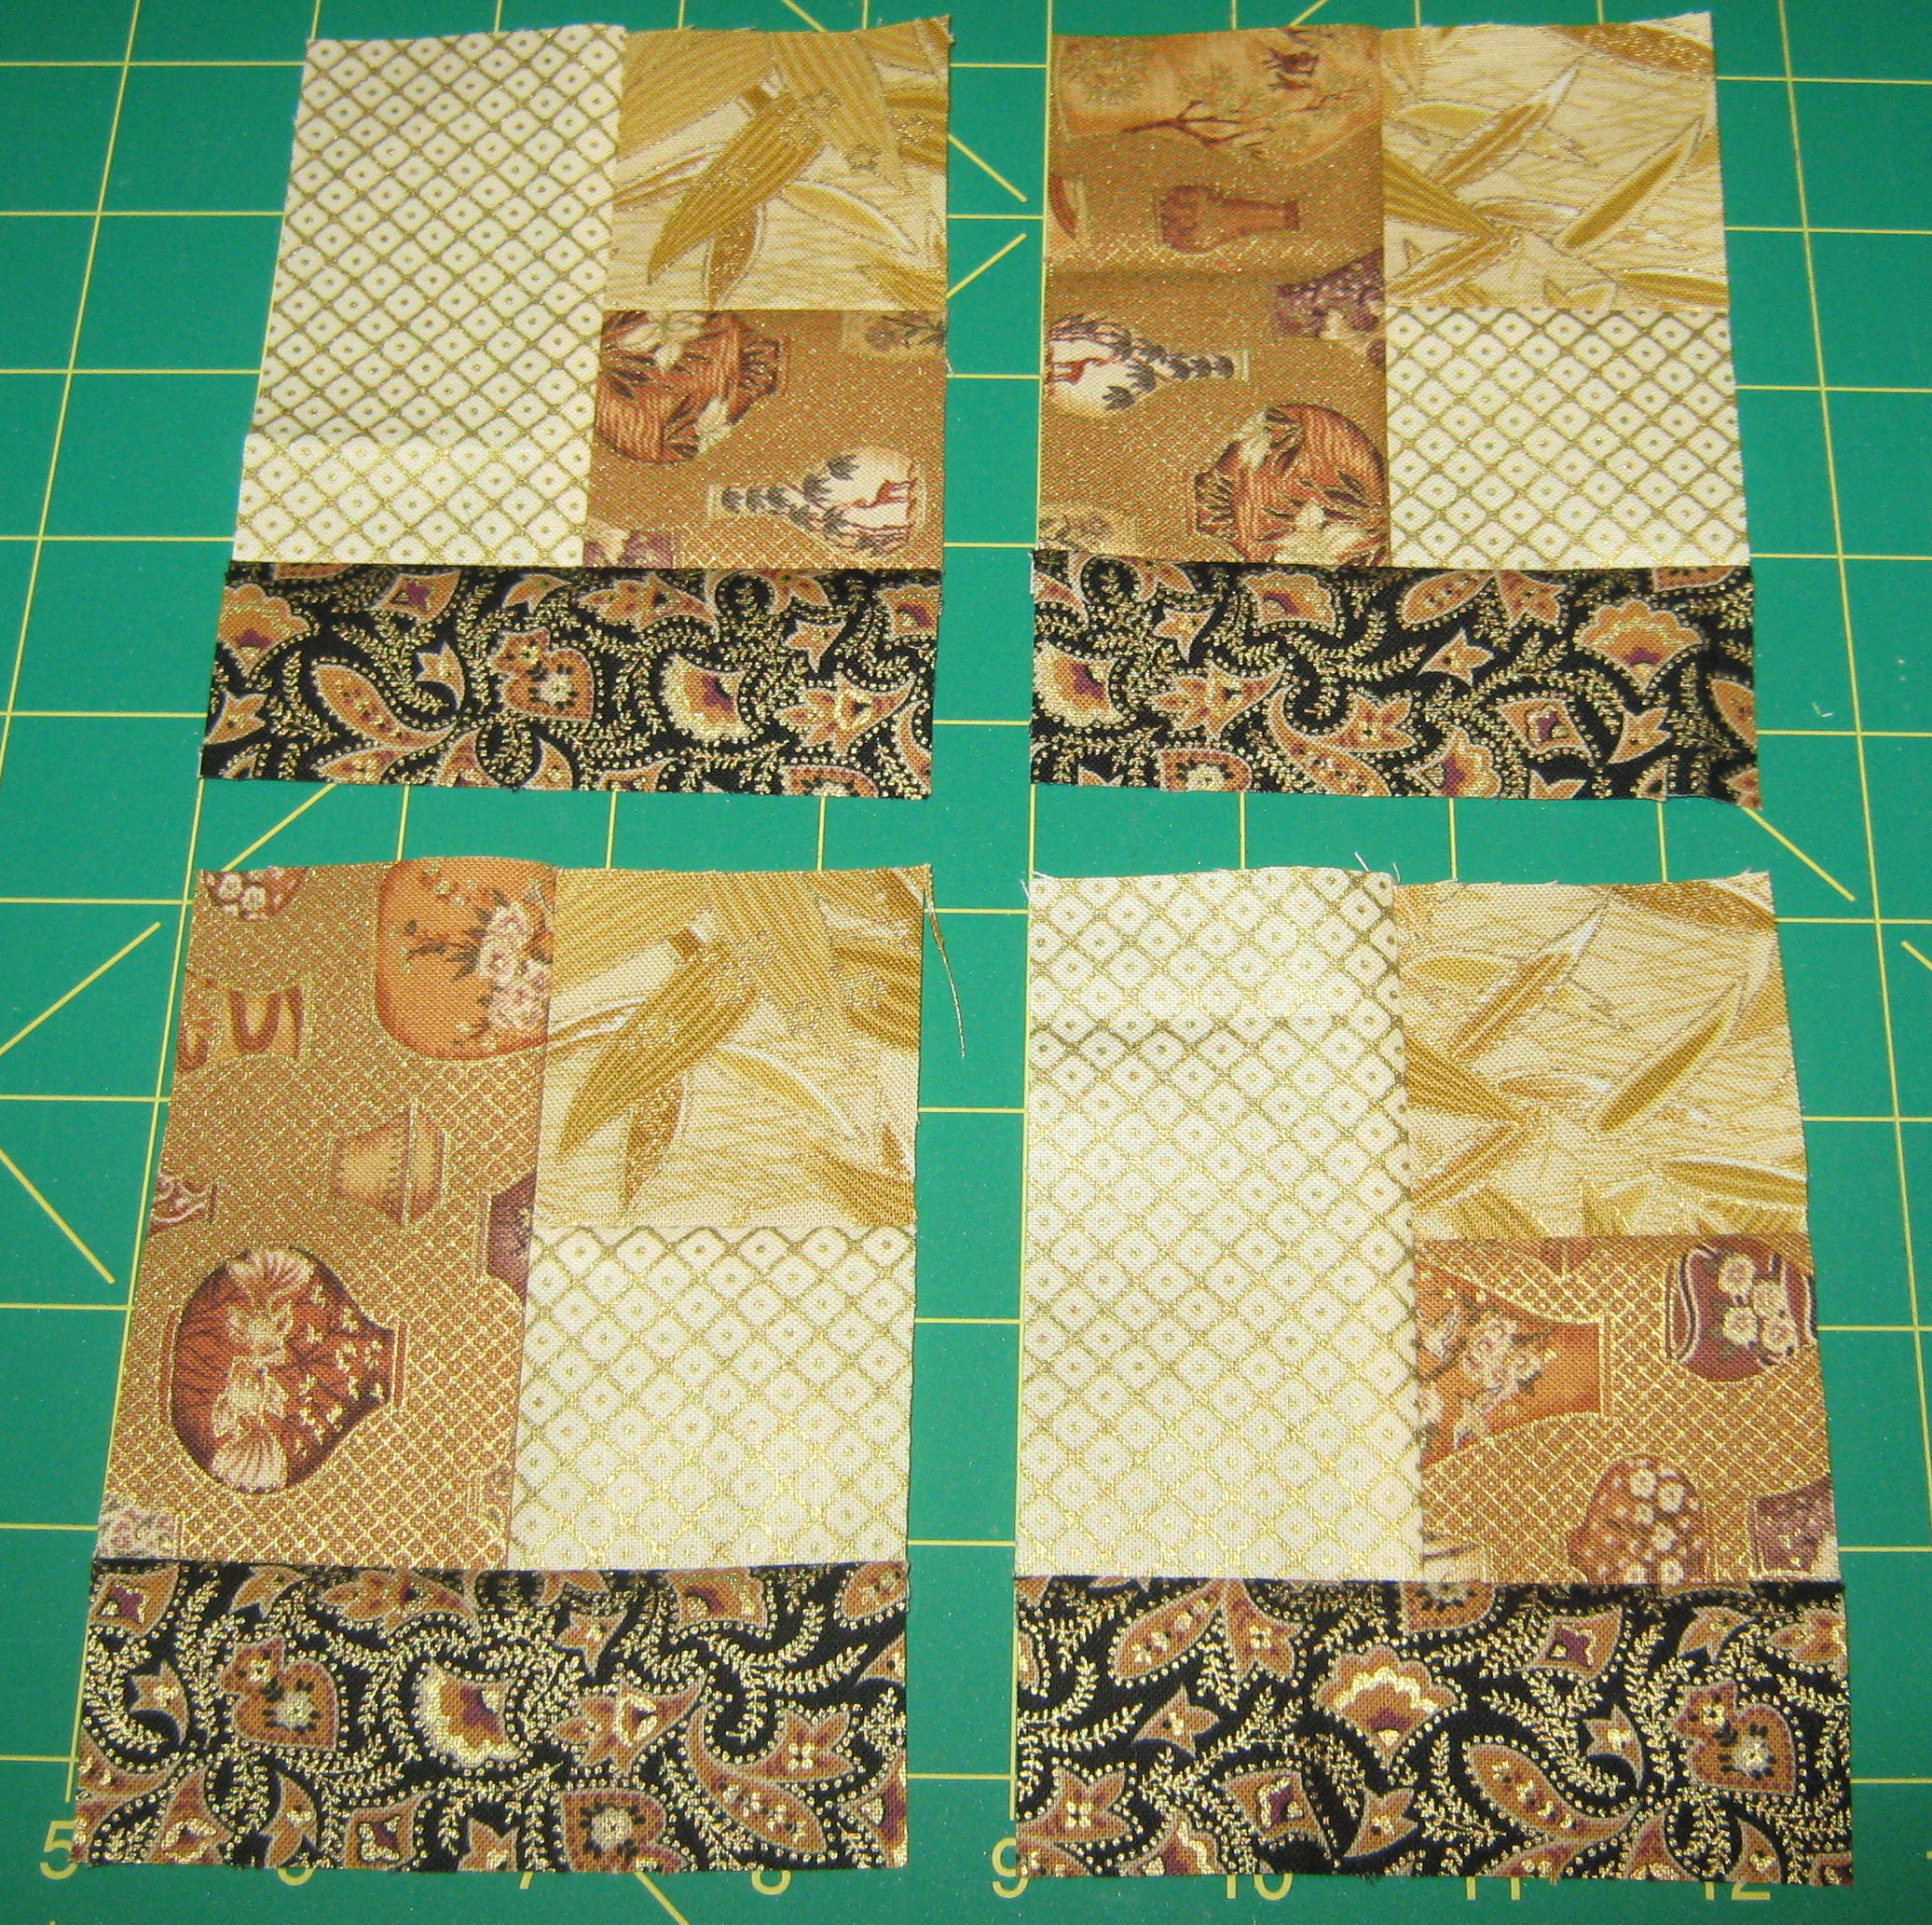 Now add another dark strip to that so it looks like this:
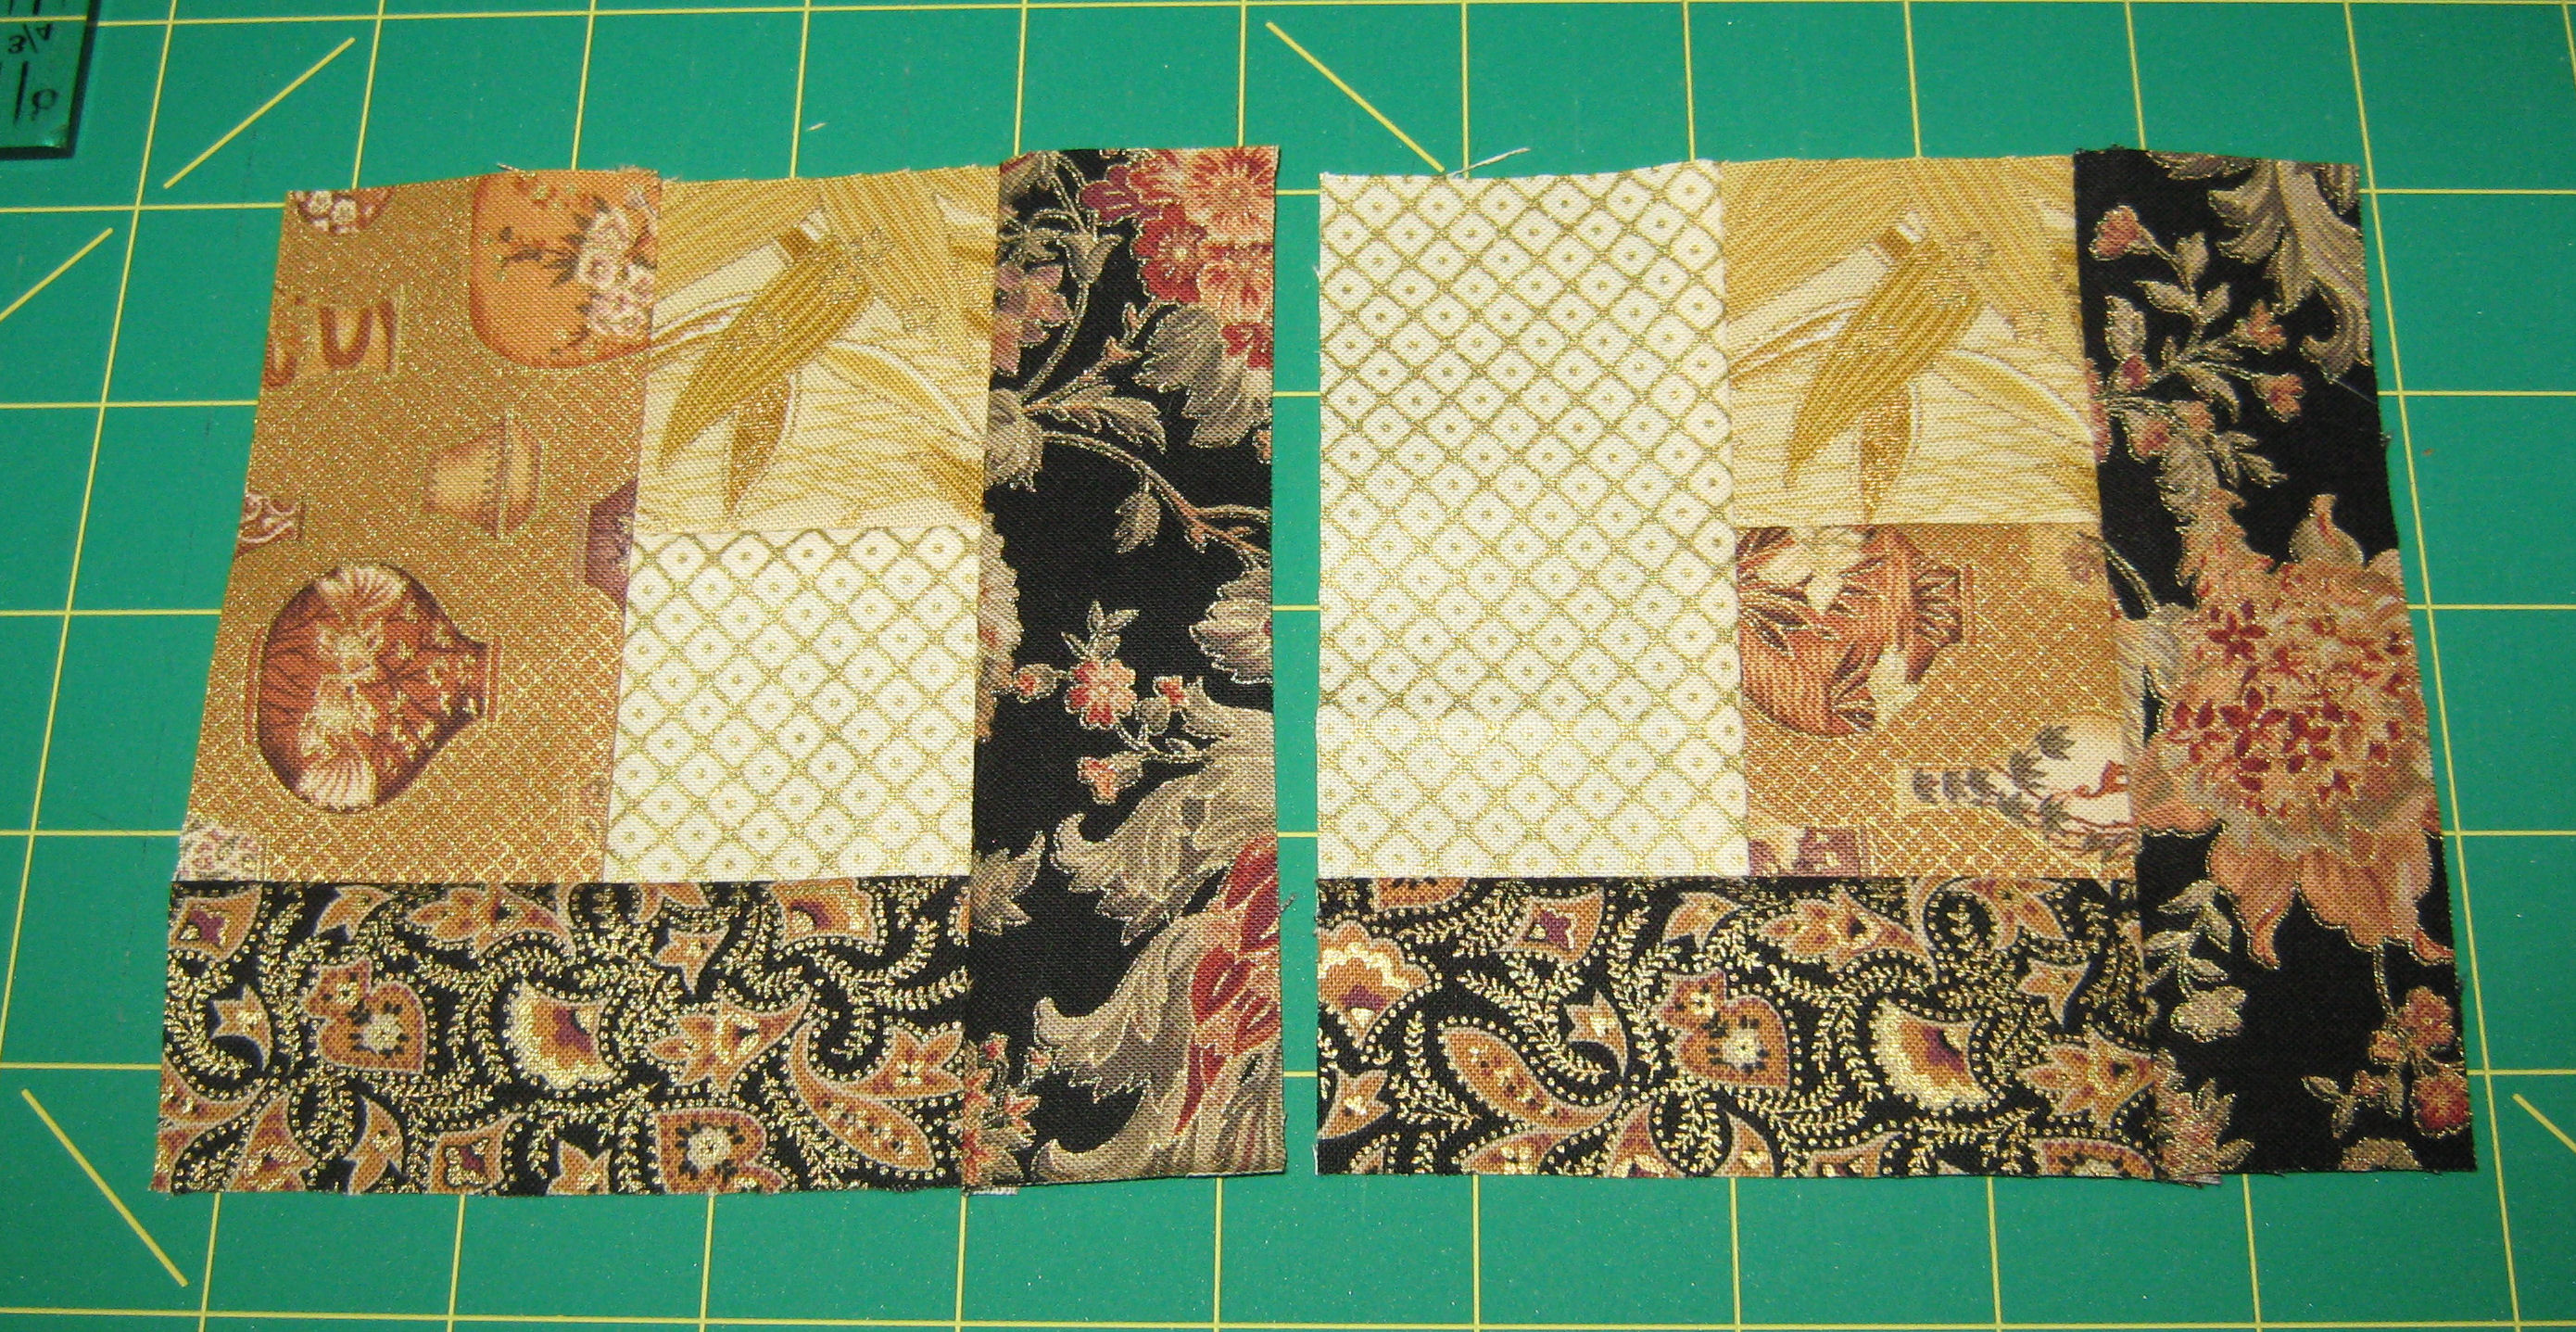 And add a light strip, like this:
 Followed by adding another light strip like this:
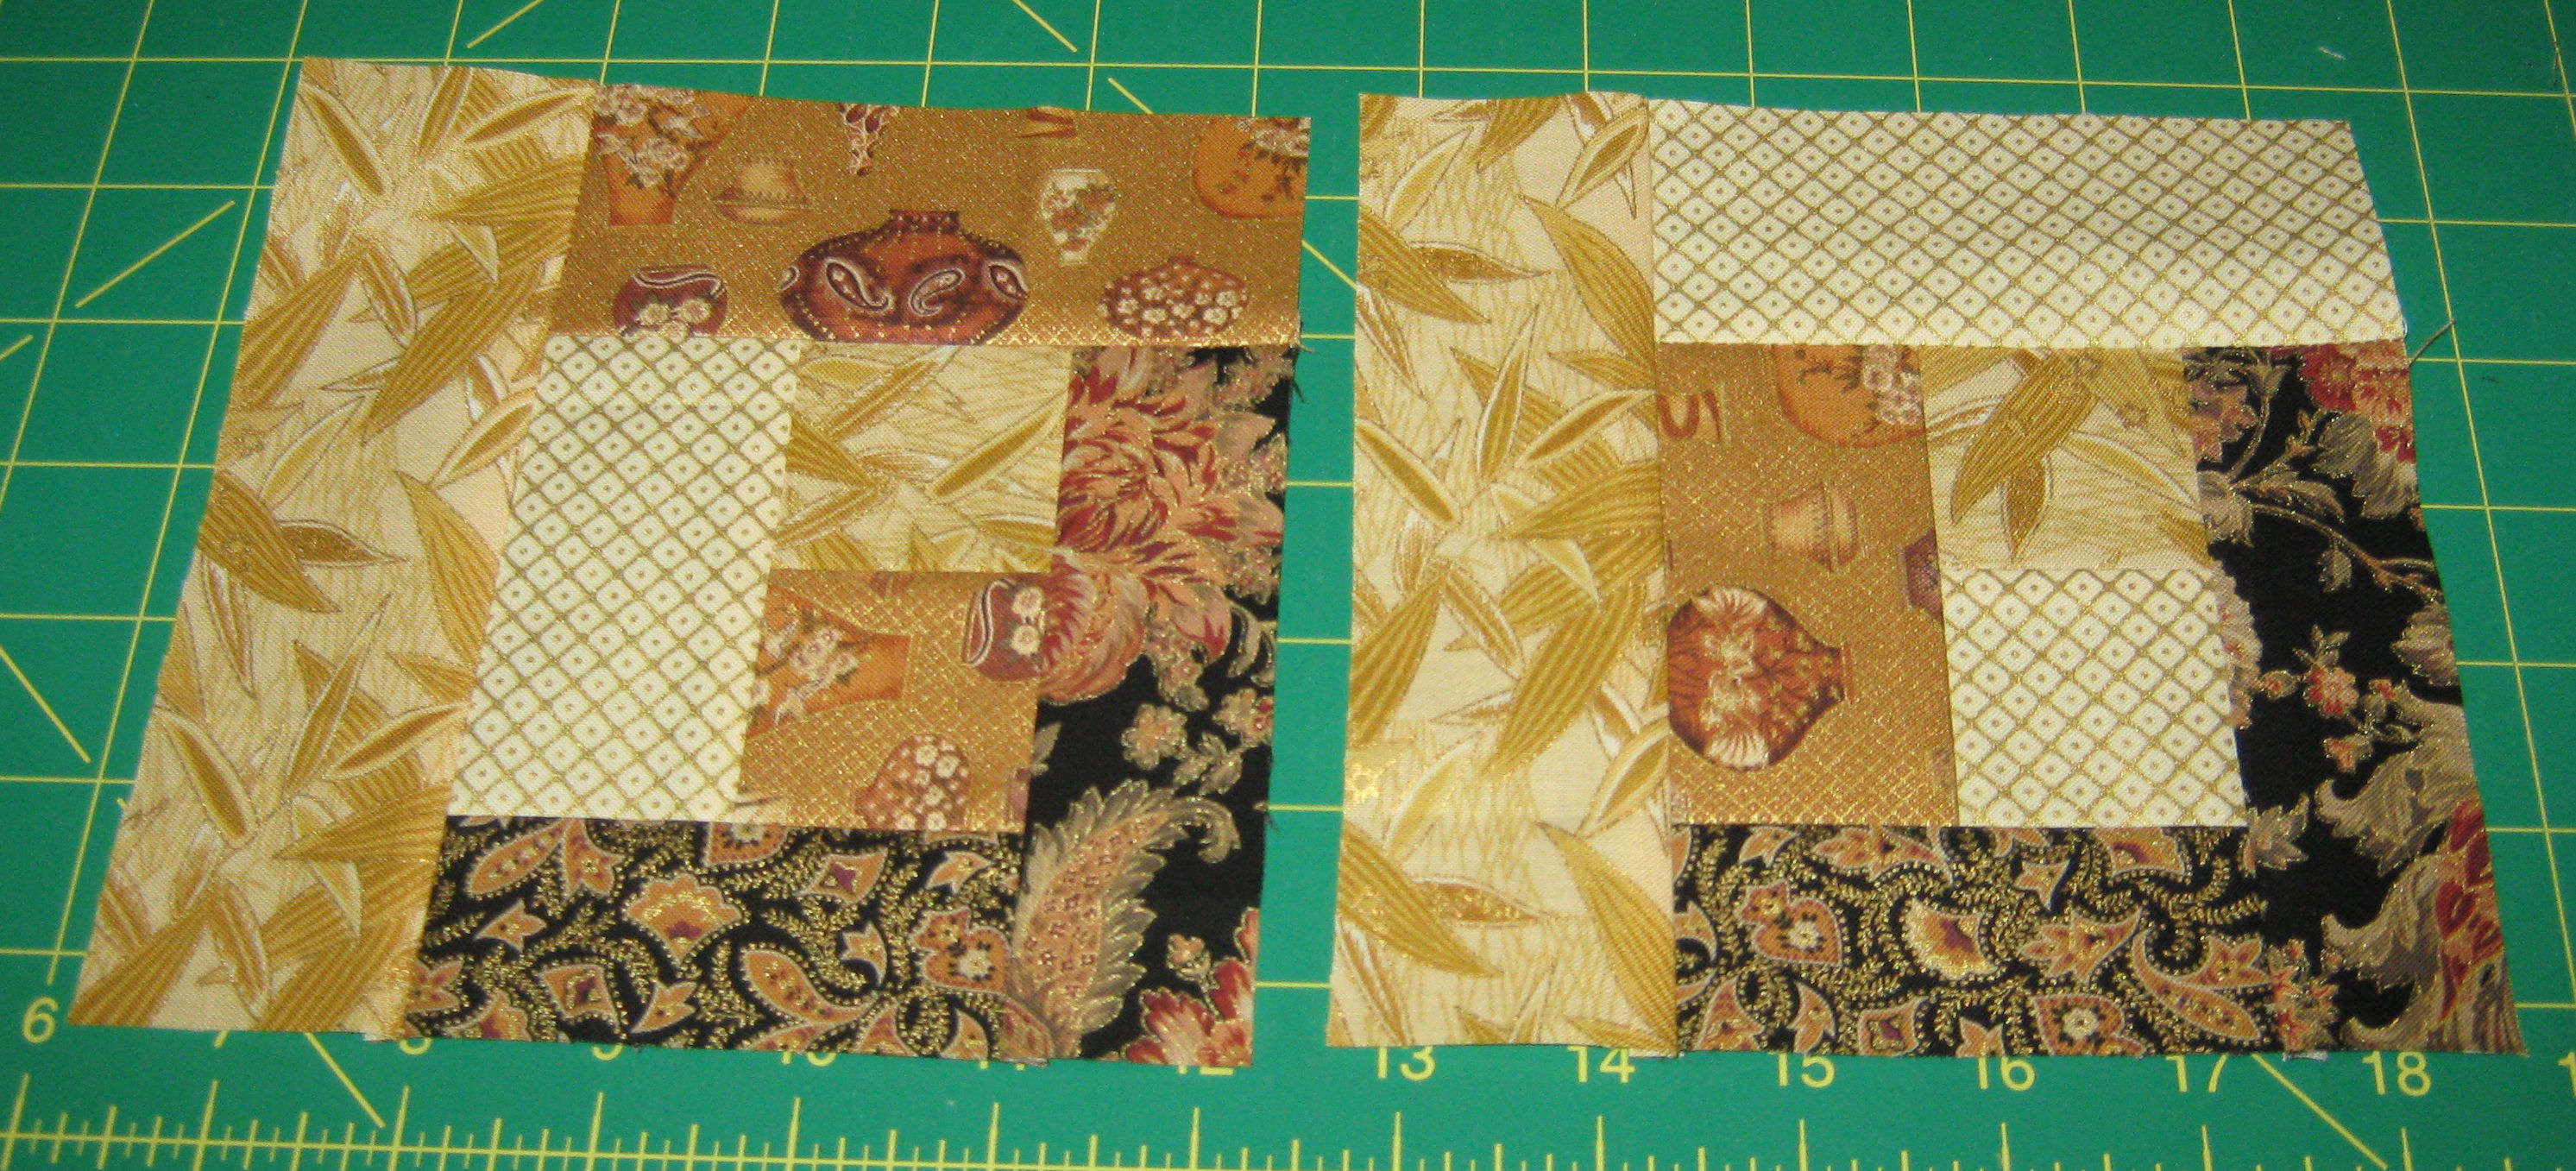
Now add a dark strip: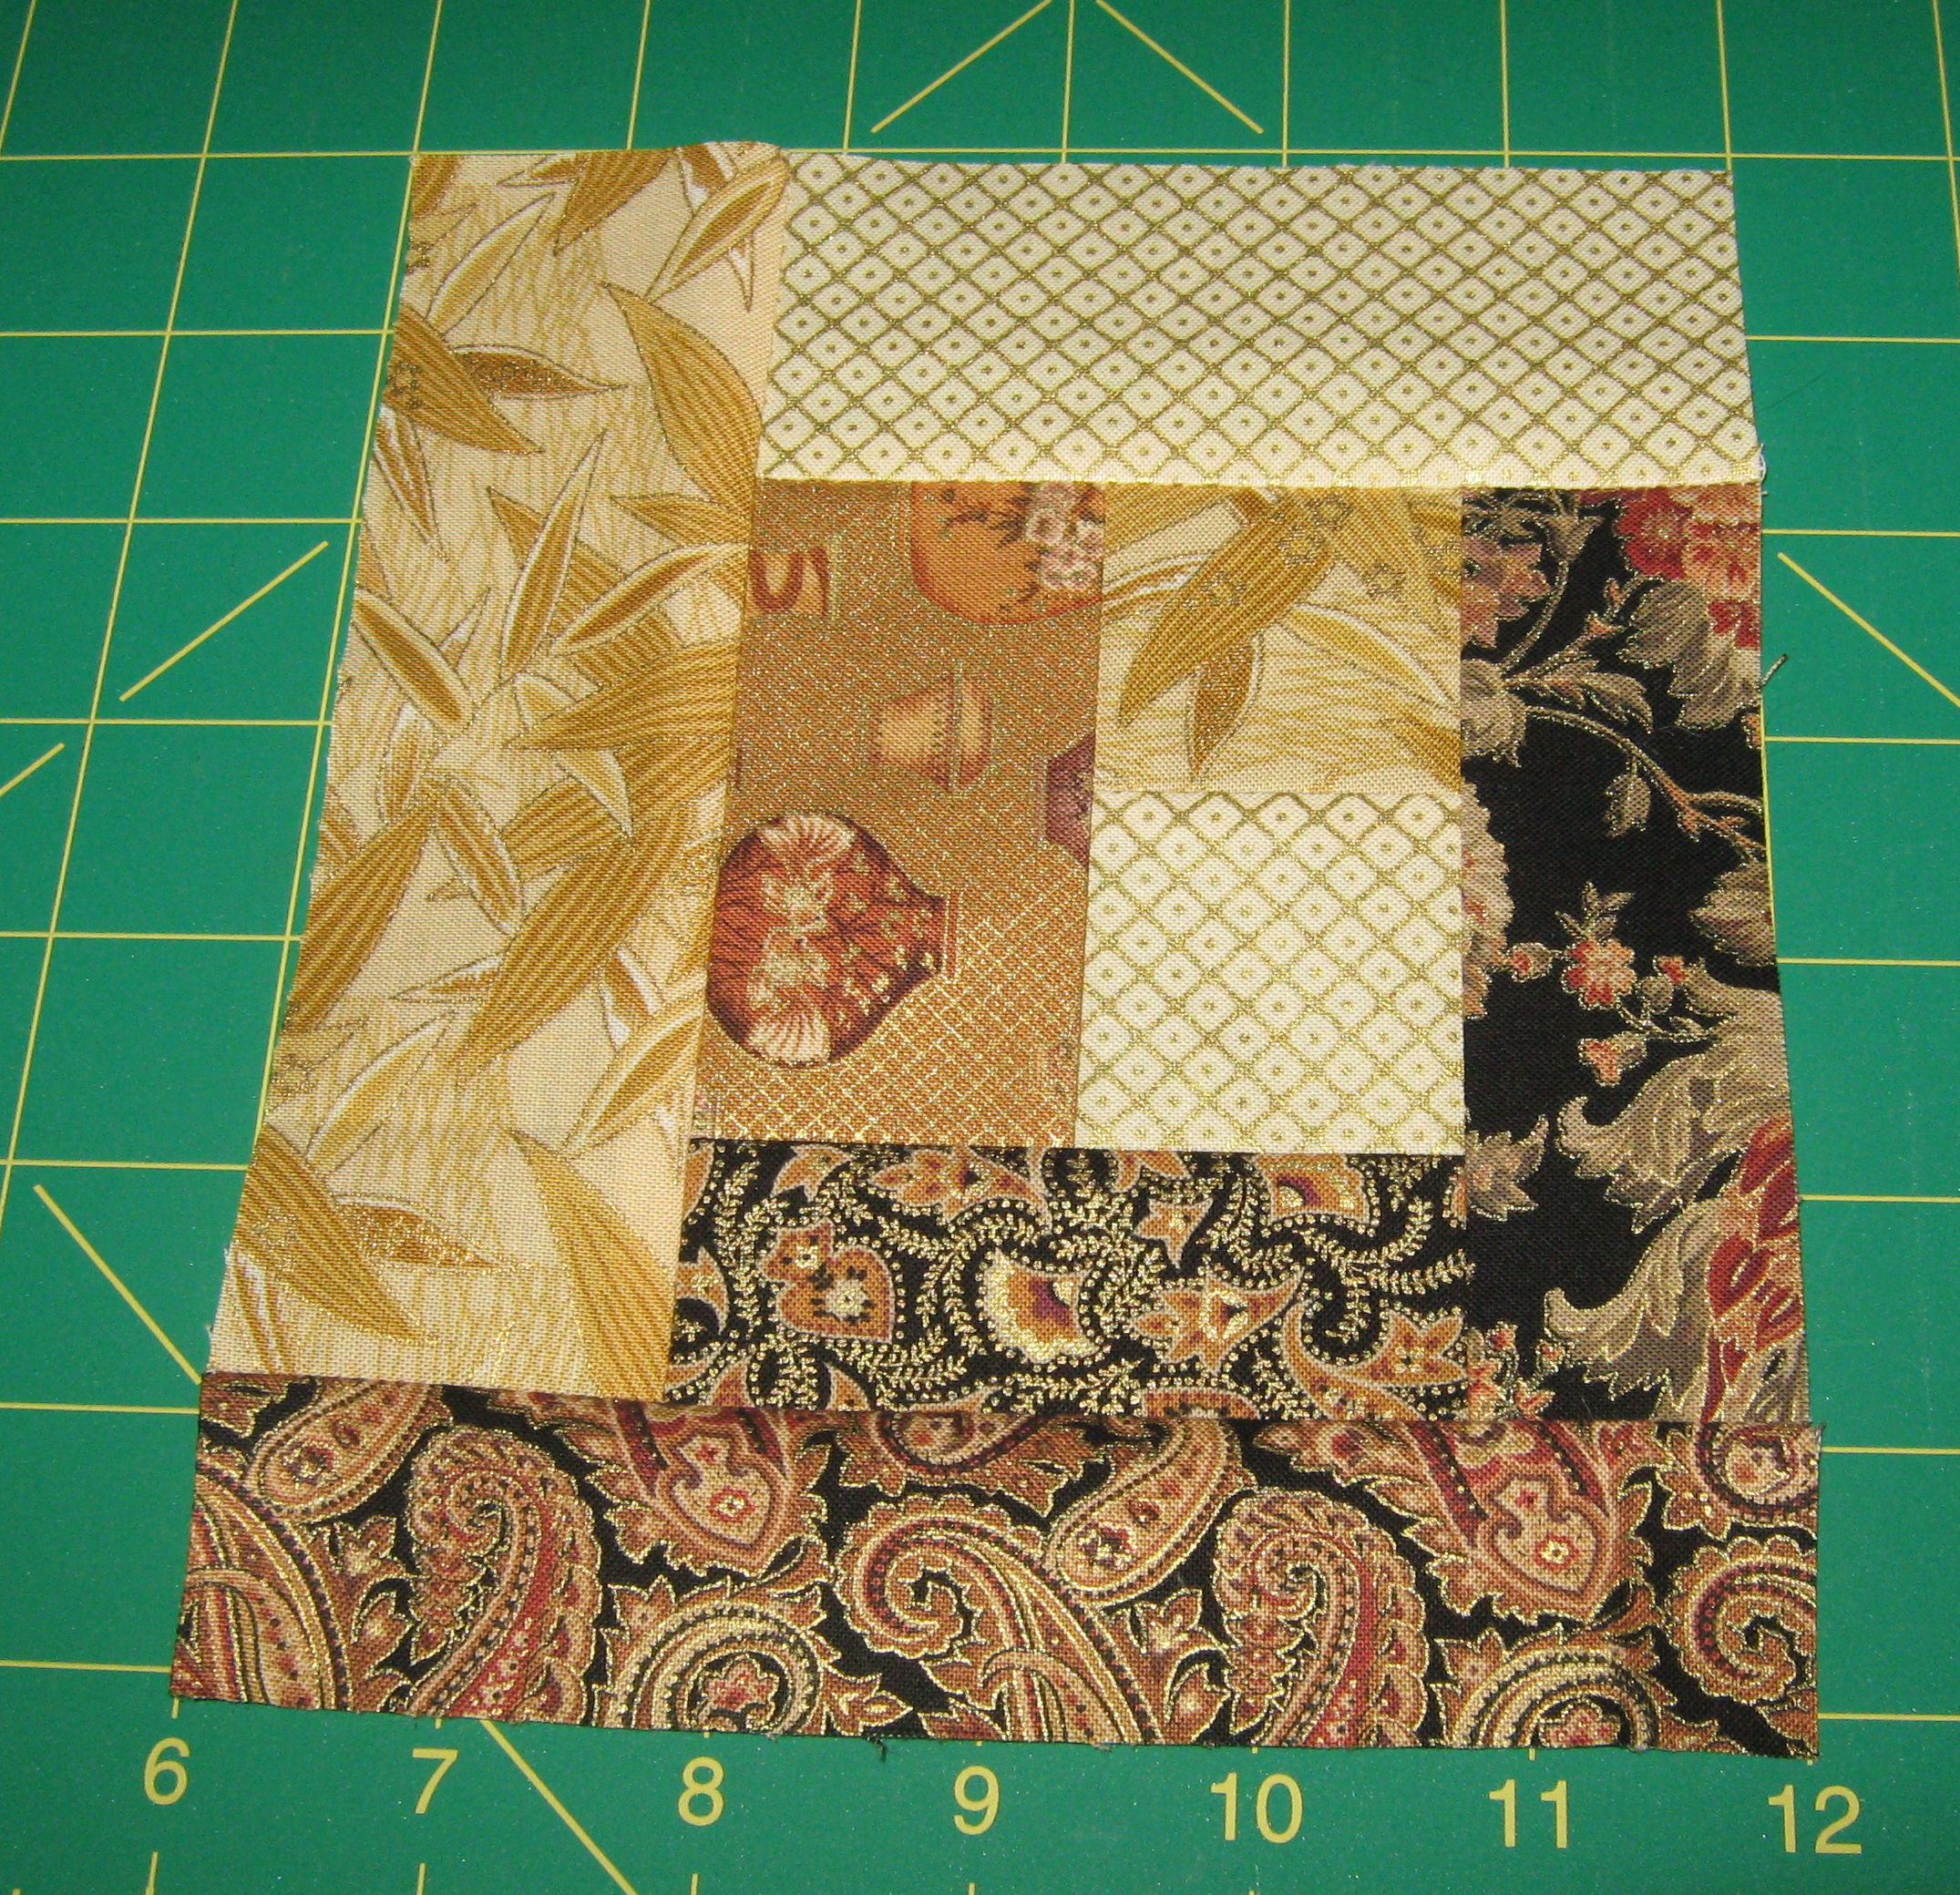 And another:
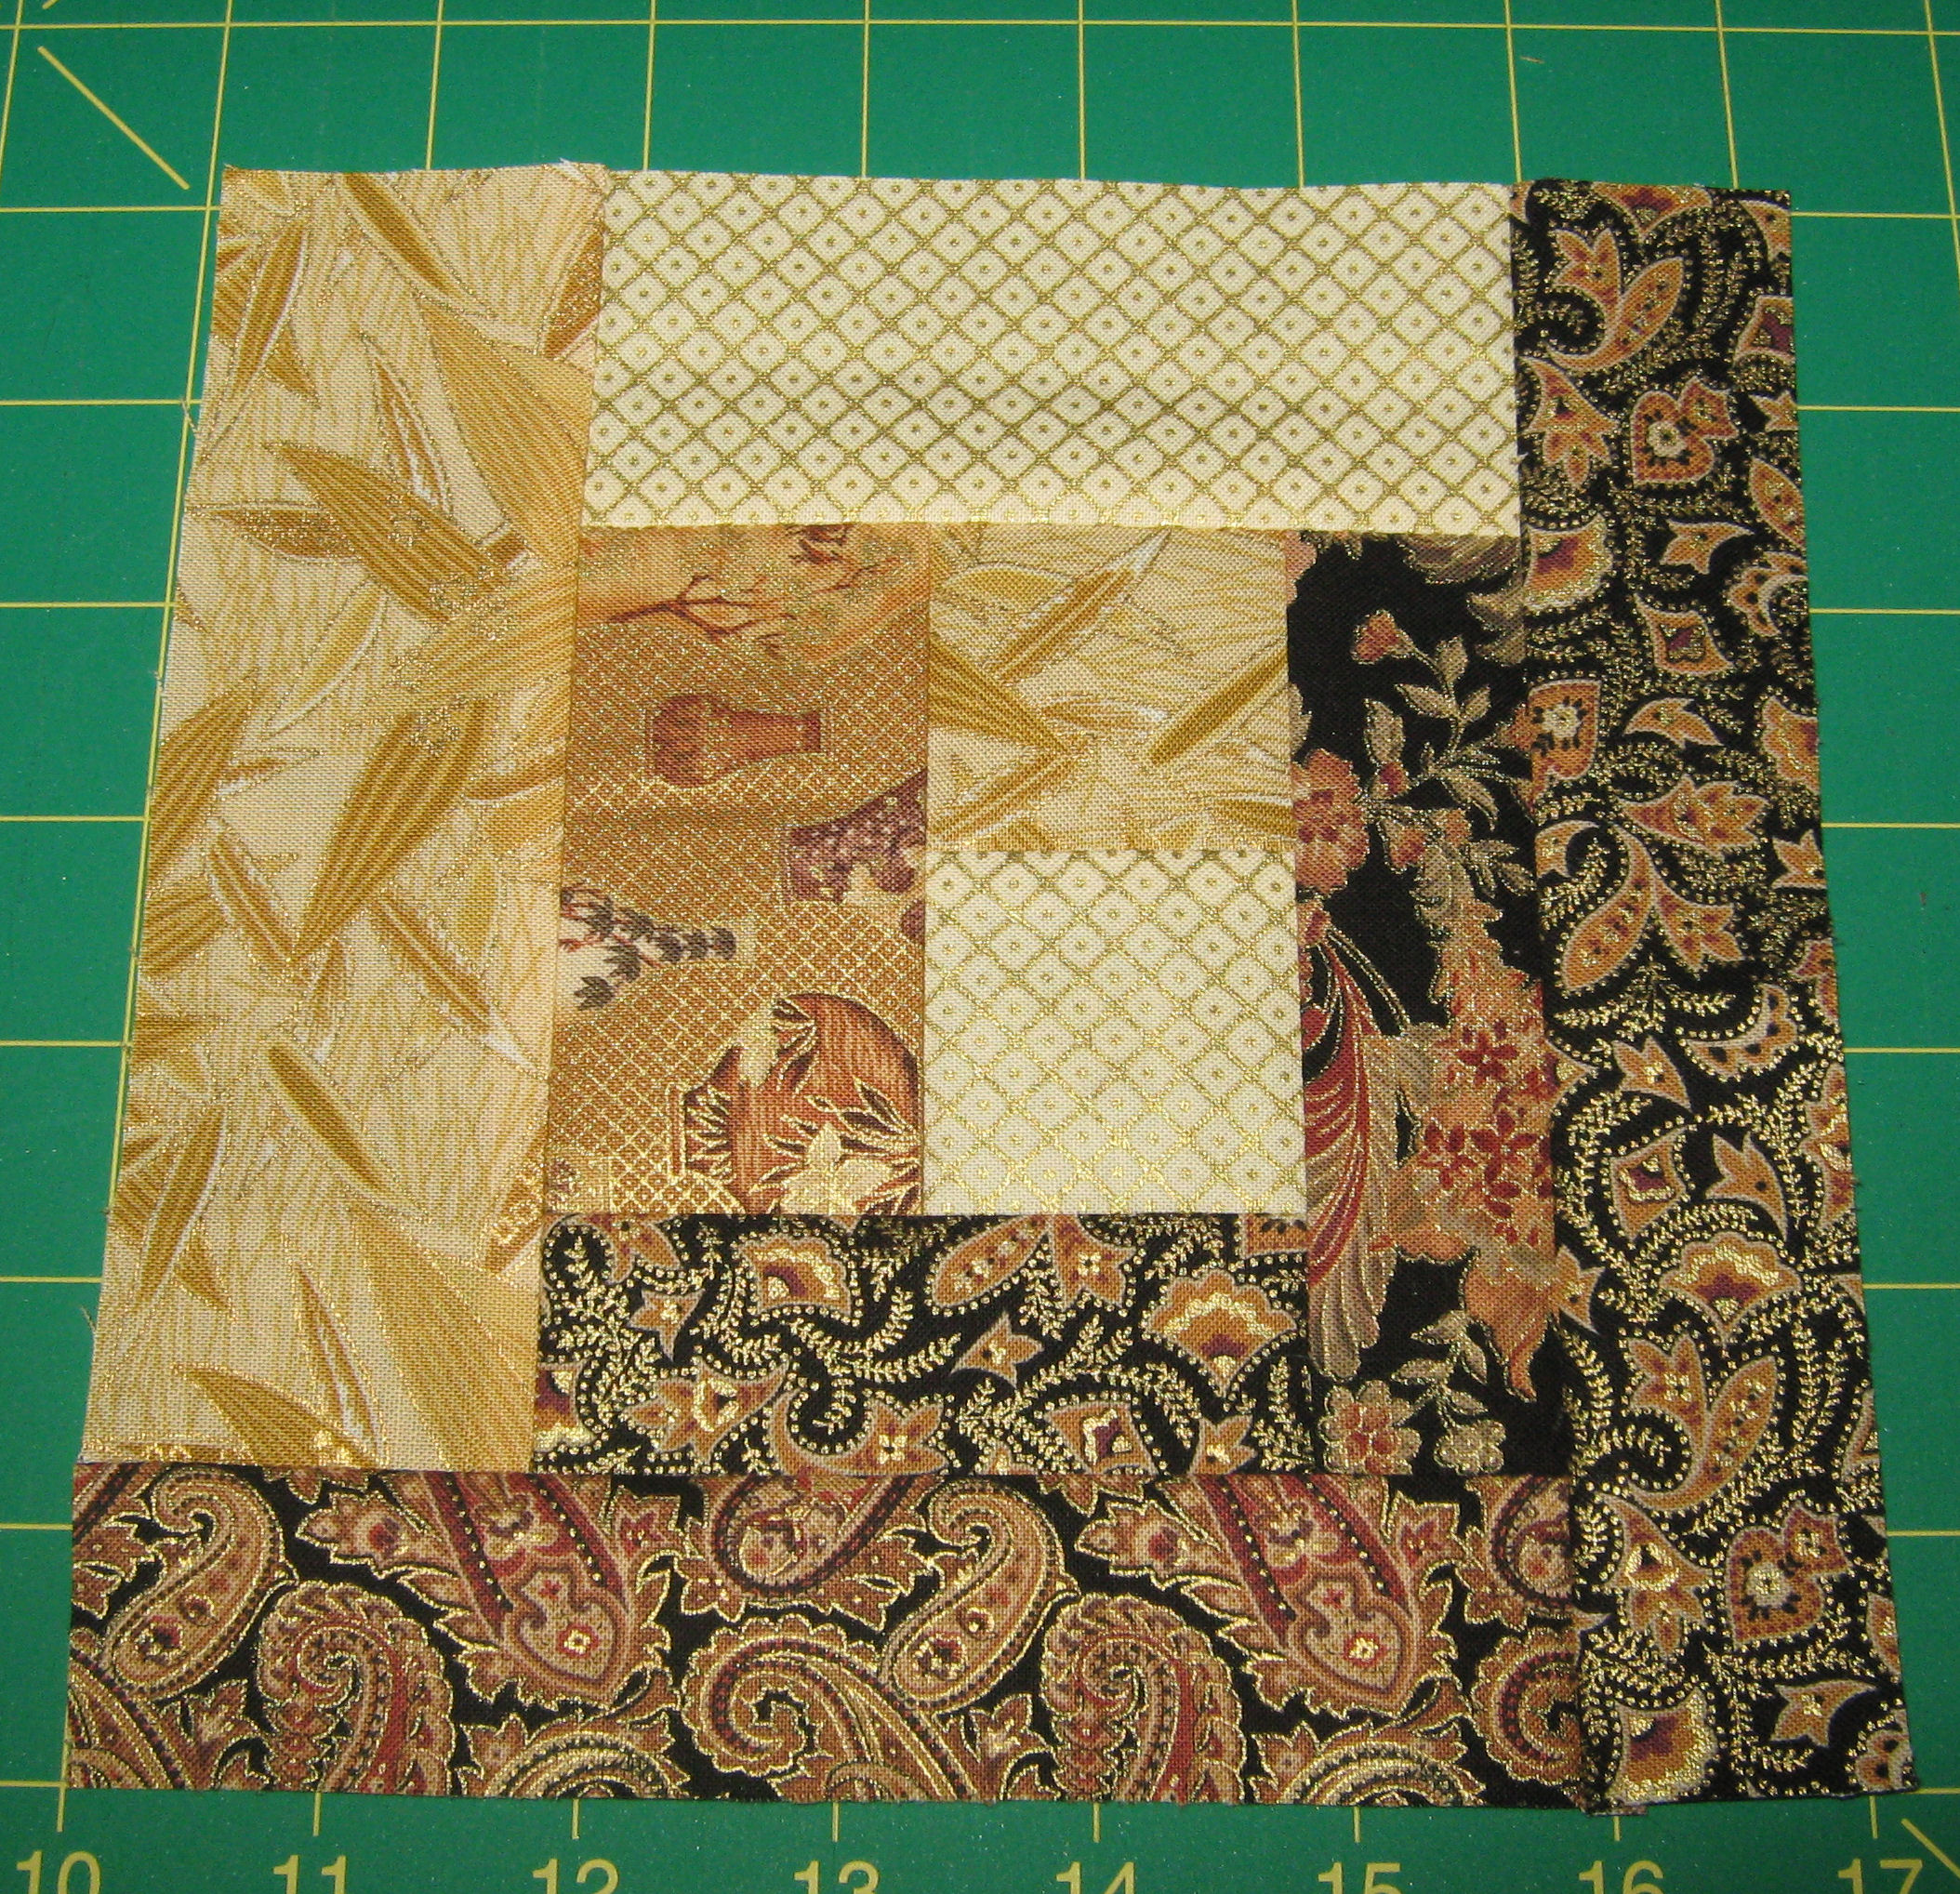 Keep going as follows:
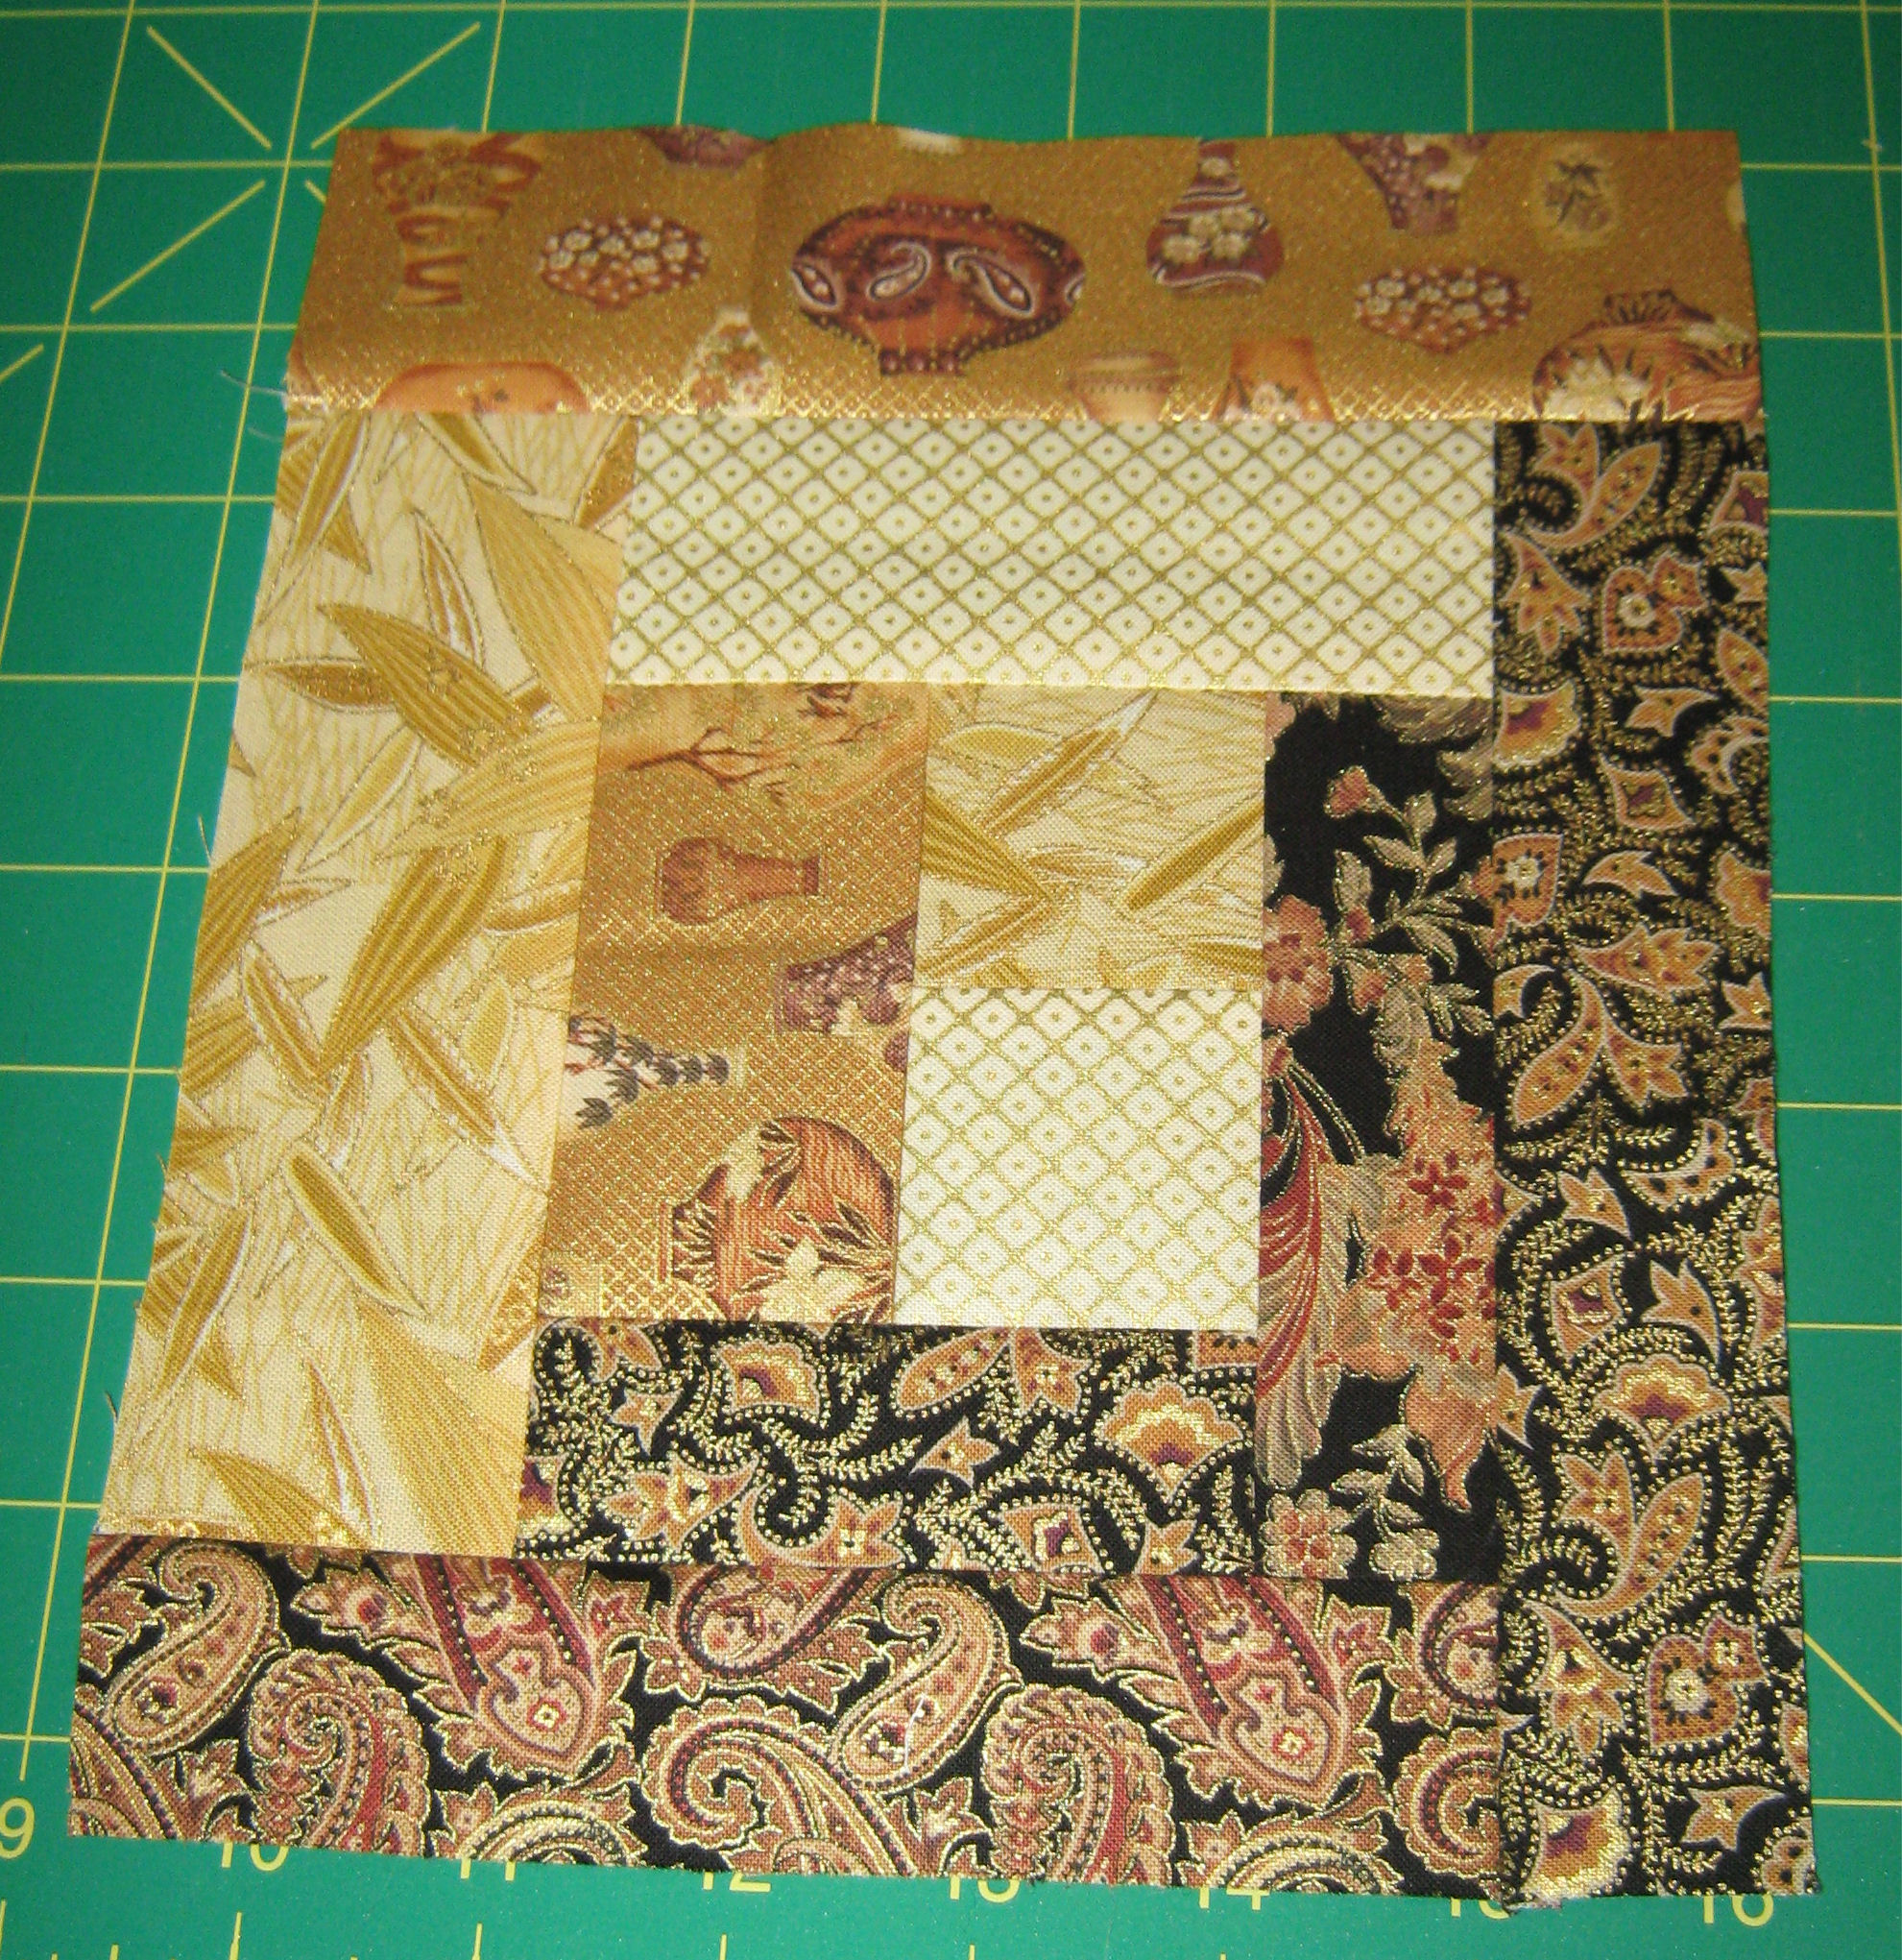

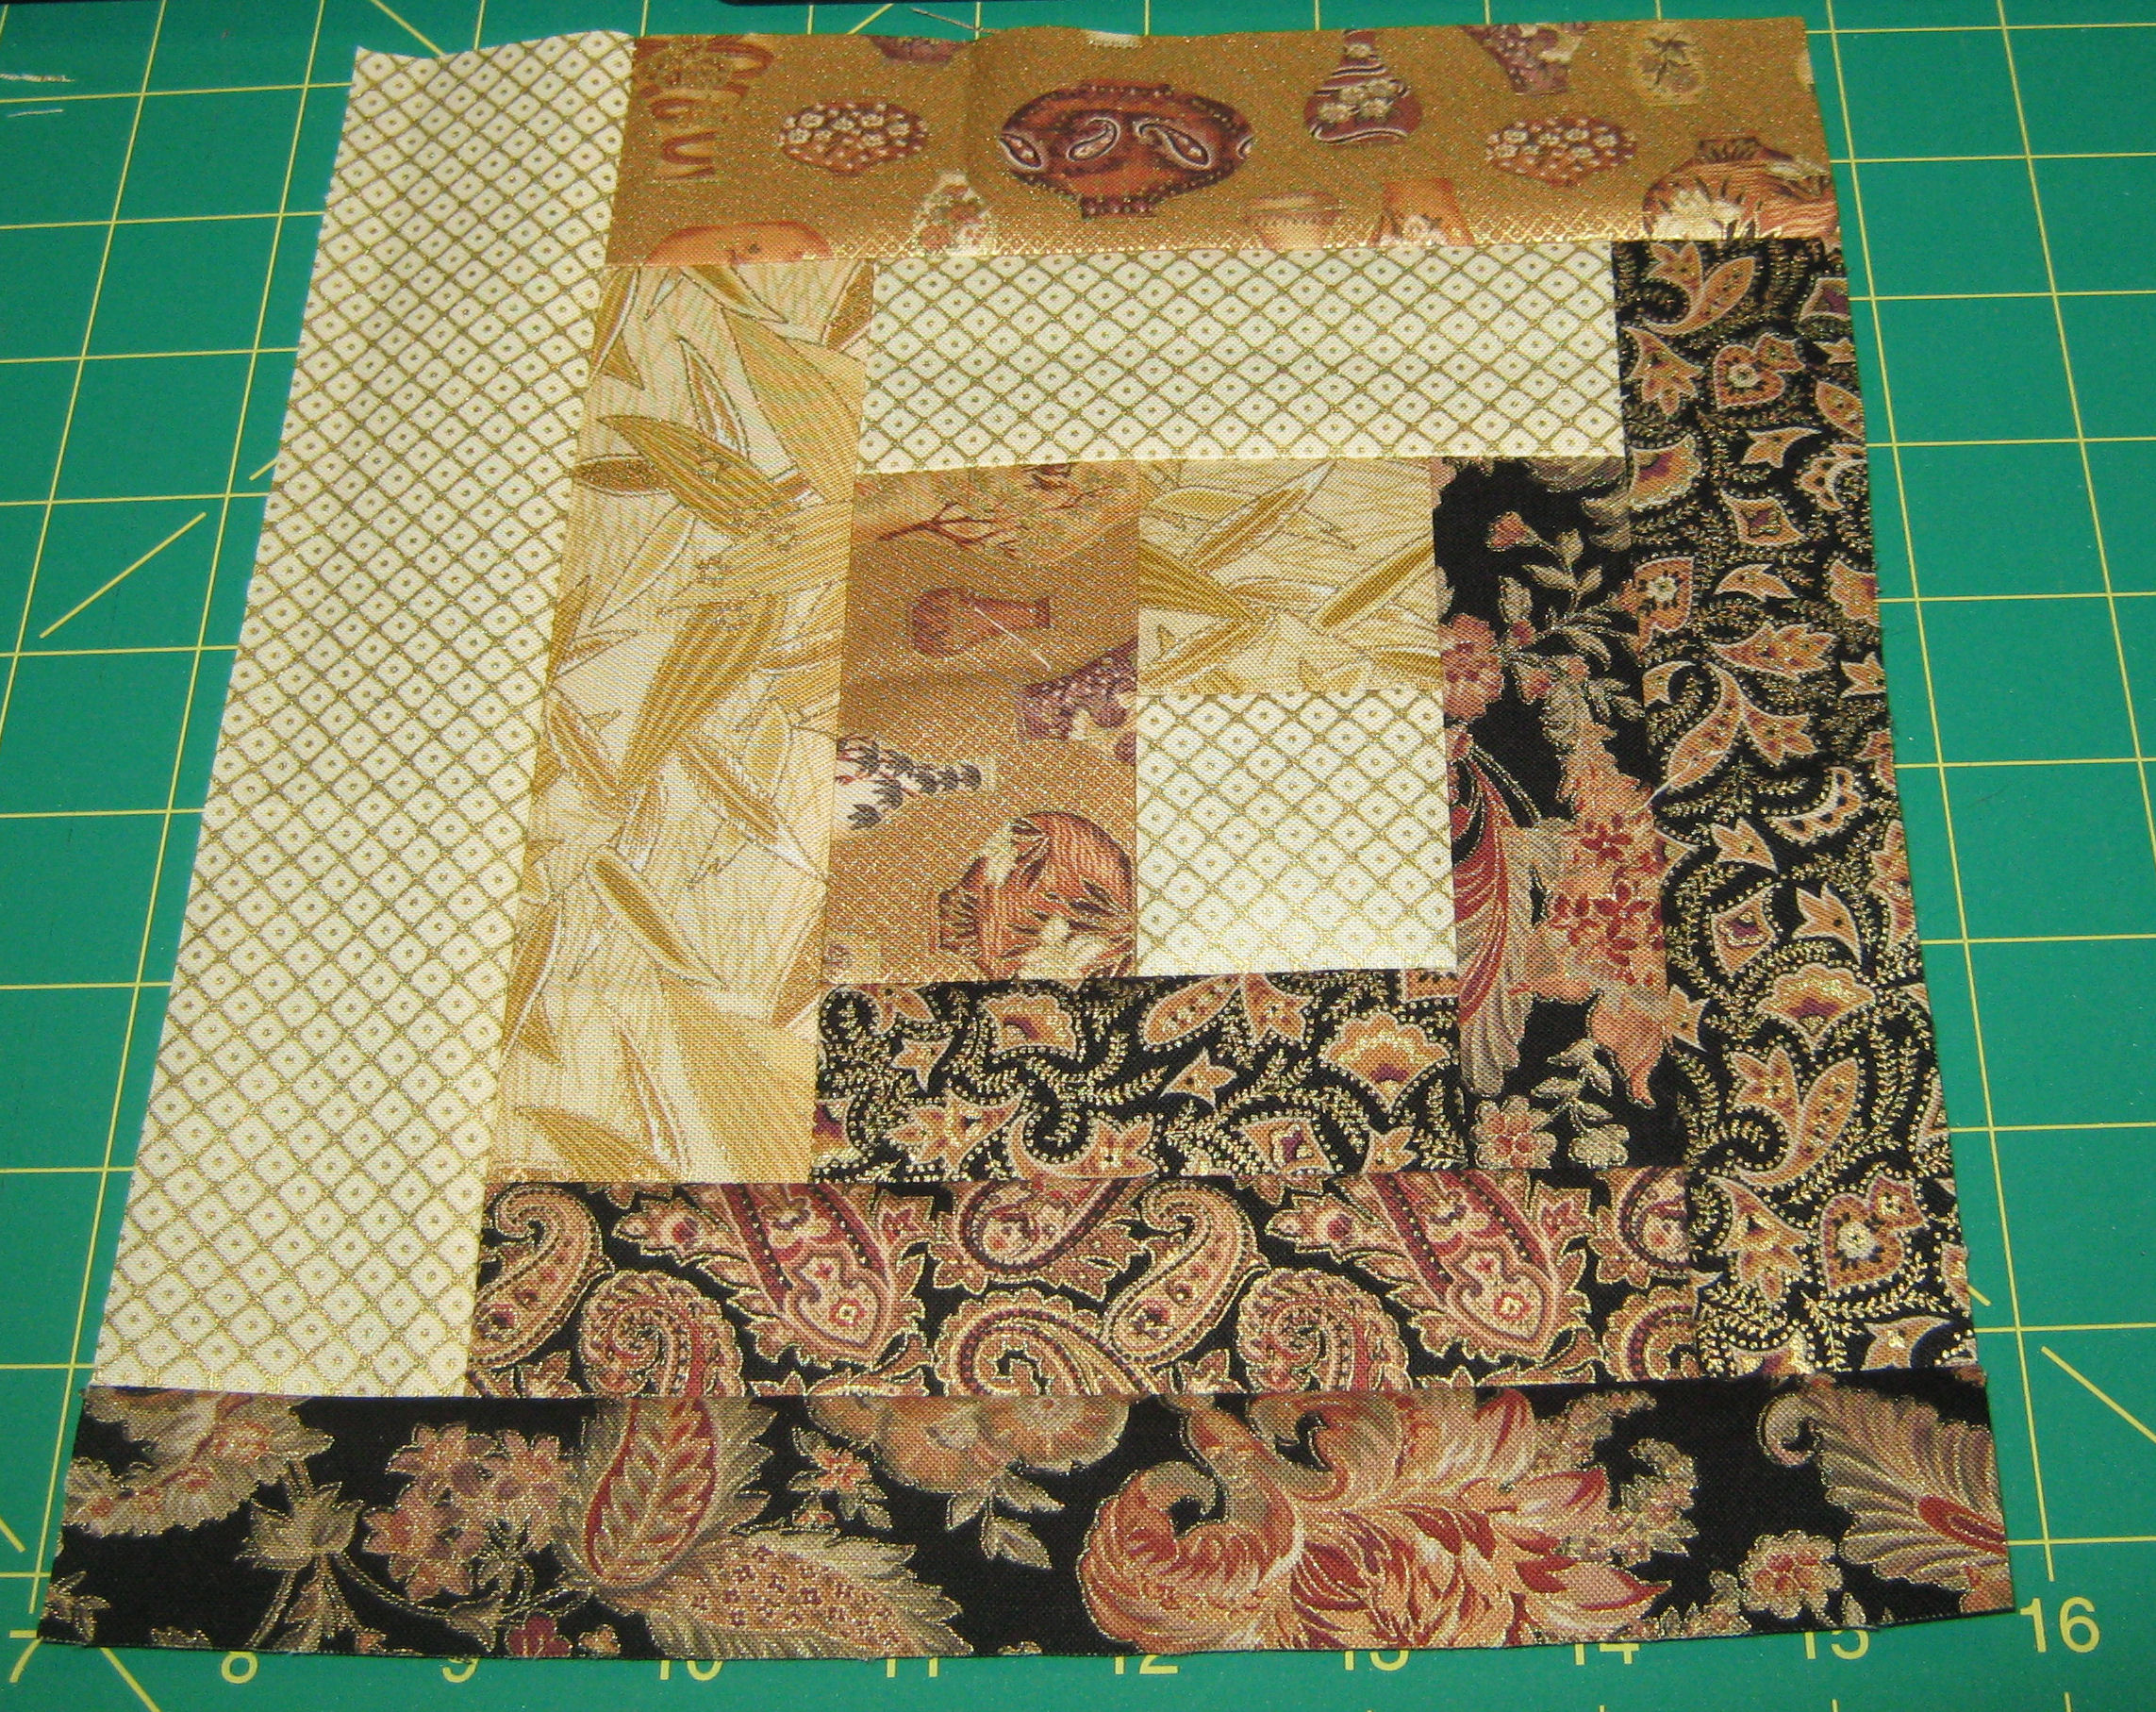 and finally:
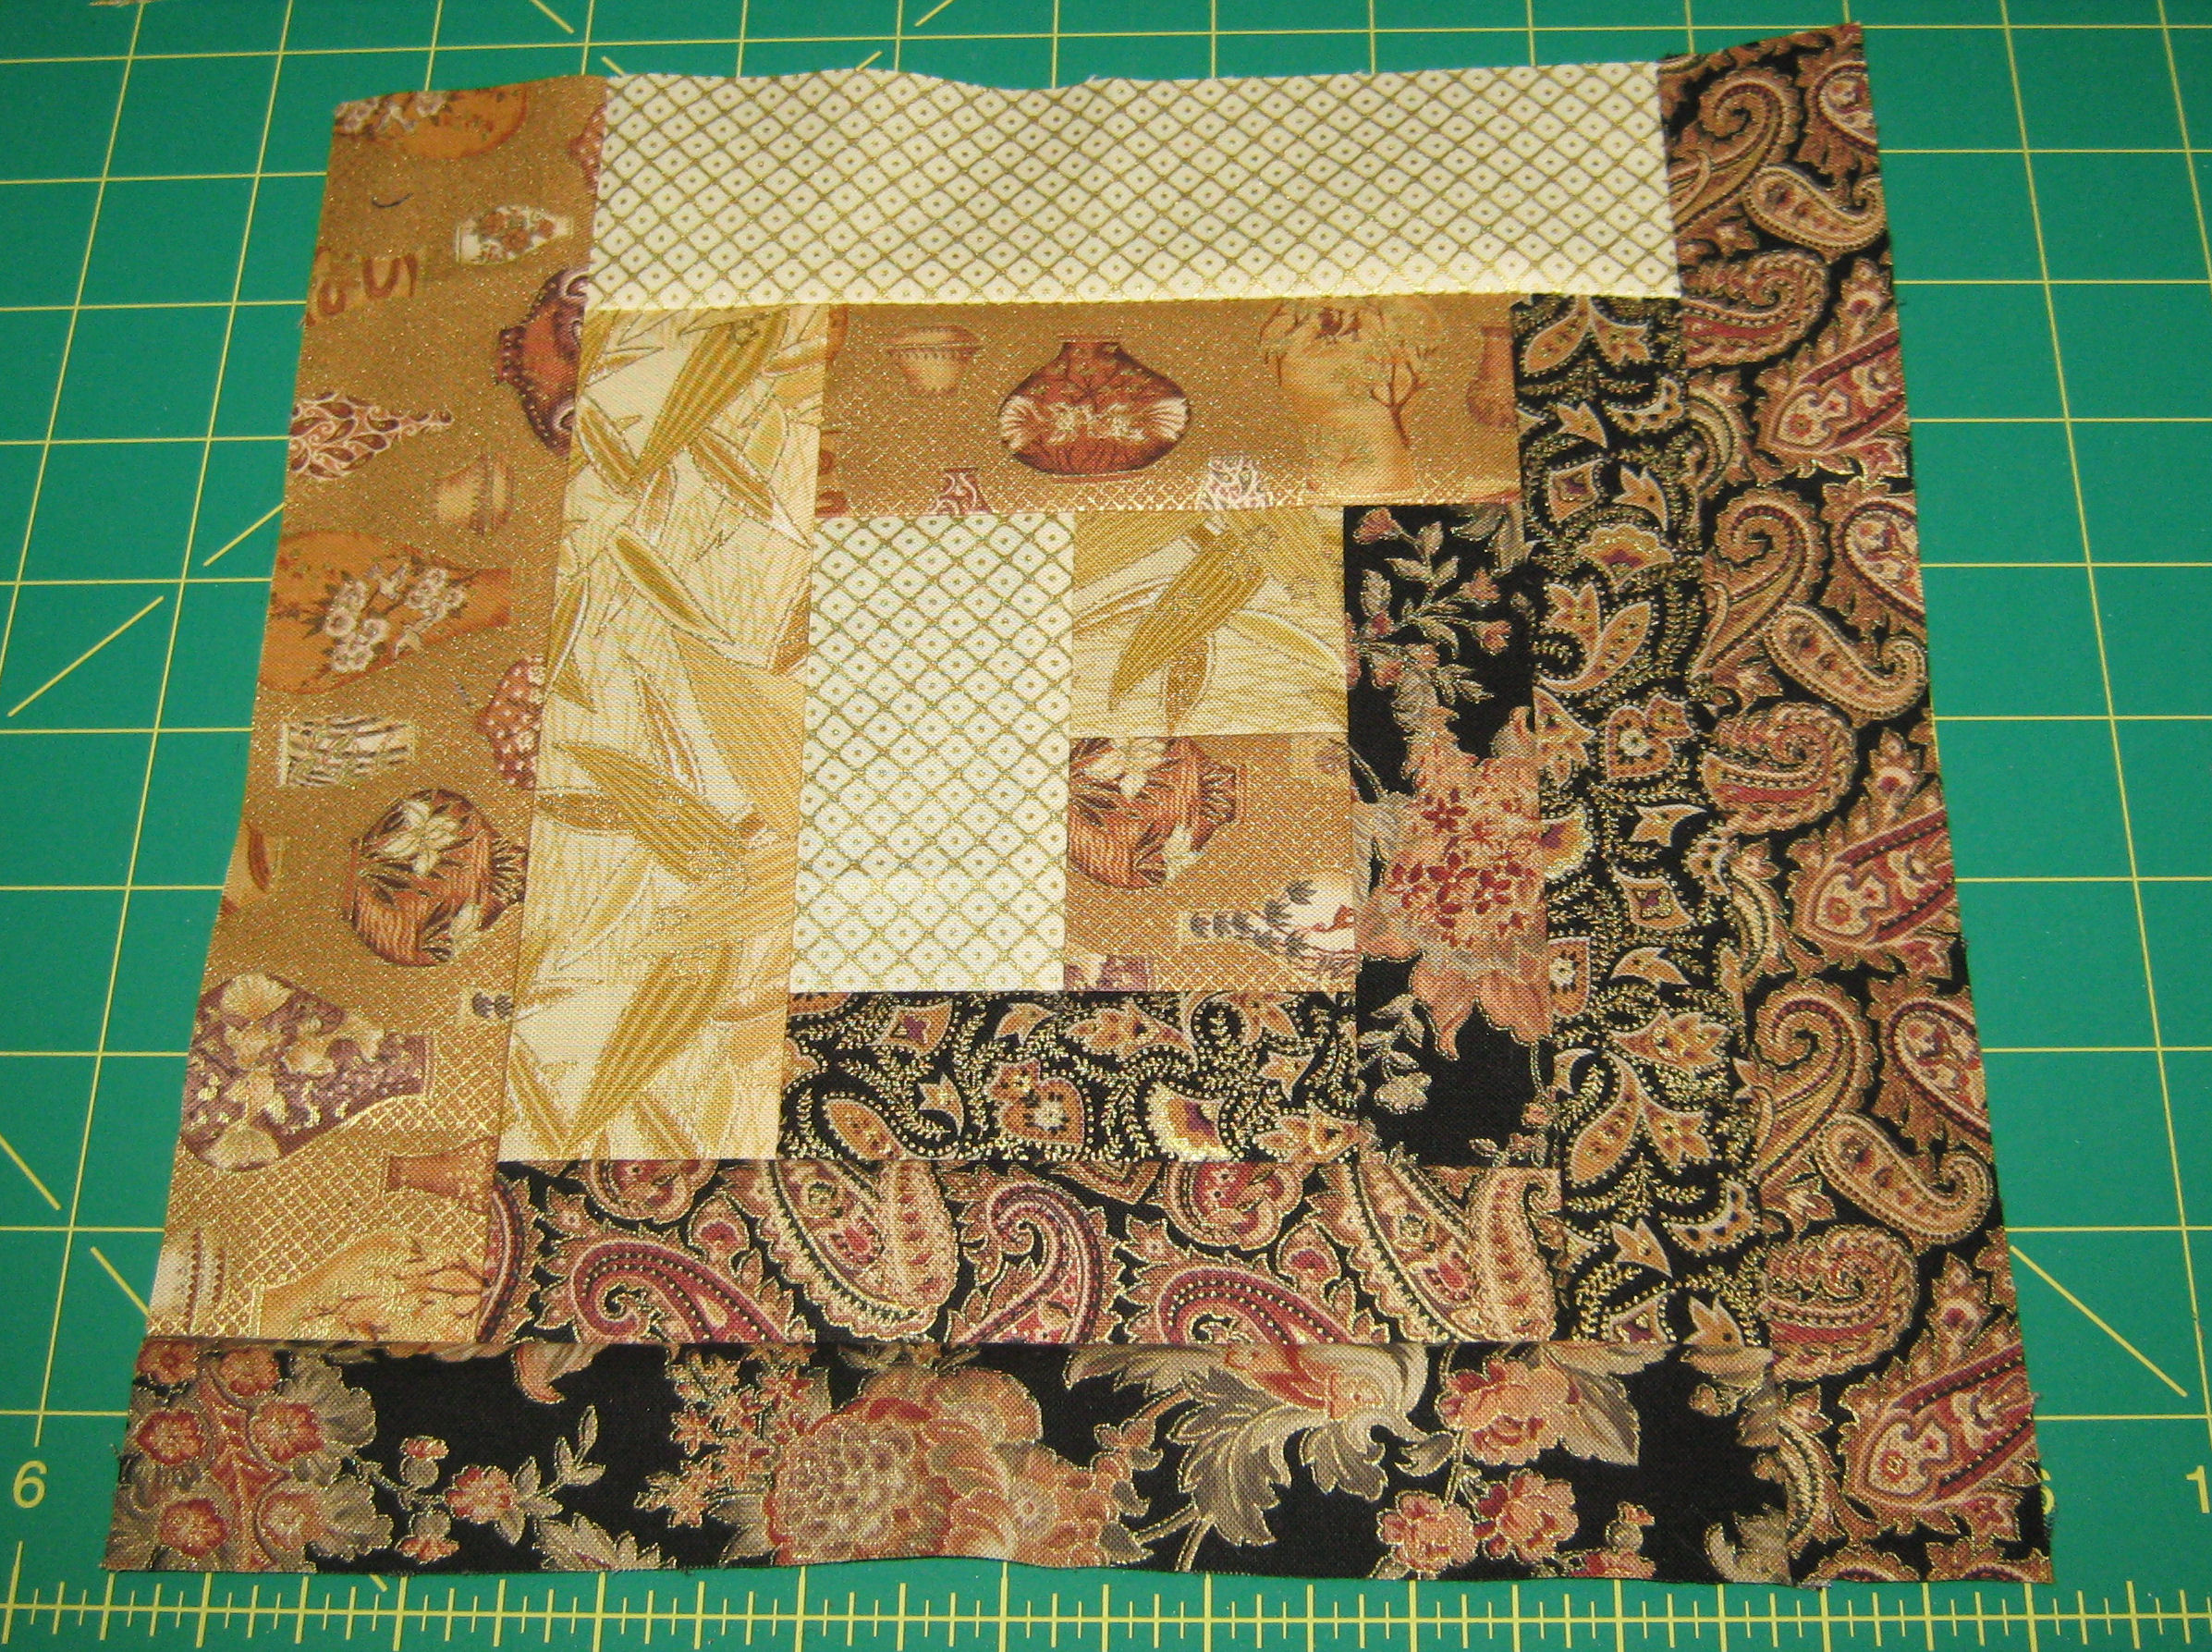 And this is Block A. Purdy, no? 🙂
*You can certainly make more, just replace the number 4 with however many blocks you want to make. I’m only doing 4 because I’m improvising this project with fabric I have one hand.