Sew a Unit #5 together with two Unit #6s to look like the picture below.
You’ll need two of these and we’ll call them Unit #12, just to be creative 😉

Now, let’s take those Unit #12s and sew one onto each of the Unit #9s you made
earlier. That way we’ll end up with two lucky Unit #13s that look like this:
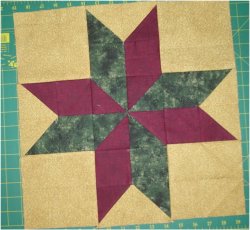
Can you feel the end drawing near? 🙂 Sew the Unit #10 and the two Unit #11s
together like below. Call it Unit #14 and please forgive my less than wonderful
photograph 🙂
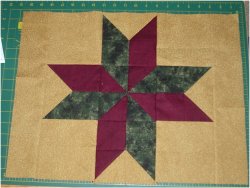
Remember those 15 1/2″ x 3″ strips? Now you want to sew one of them on either
side of Unit #14, like below. You can call it Unit #15 if you’d like, but really,
it’s not necessary at this point 🙂
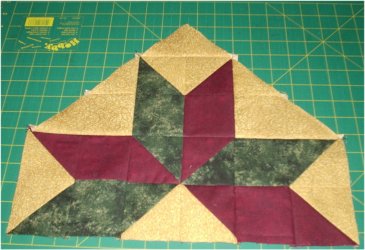
Now, sew the three units you have together like the picture below, pat yourself
on the back and snap a picture to send to me 🙂

I hope you enjoyed this mystery as much as I did — please do send me a picture, I’d love to share it with the world on my picture page 🙂