Time to make some half QSTs (half quarter square) units. If you’re a new quilter these may seem a little bit intimidating but don’t stress them. Just pay attention to what you’re doing and you will be fine — honestly. If you’re an expirienced quilter these will be old hat and you’ll be done them in no time 🙂
Watch that you don’t get your colors mixed up as you’re sewing (like I did *le sigh*) and you can get through this without having to use your un-sewer 🙂
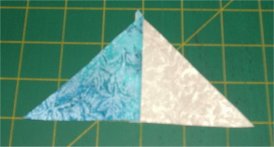
4. Cut your 2 color #2 4 1/4″ squares in half diagonally — then cut them in half again so that you have 8 triangles (also called quarter squares for obvious reasons). Do the same with 2 4 1/4″ squares of your background material. Sew one triangle of color #2 and one triangle of your background fabric together like this:
 Repeat 7 times until you have 8 units like above.
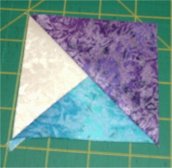
5. Take two 4″ squares of color #1 and cut them in half diagonally. Sew one of the triangles to the above unit like this:
 Repeat so that you have 4 of these blocks. We’ll call these blocks HQST #1 (it’s a tedious label, I know.). I suggest labelling them or at least making a note somewhere — you’ll be happy you did later.
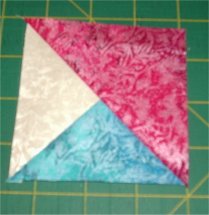
6.Take two 4″ squares of color #3 and cut them in half diagonally. Sew one of the resulting triangles to the unit from step 4 like this:
 Repeat so that you have 4 of these blocks. We’ll cal lthese blocks HQST #2. I suggest labelling them or making a note somewhere.